
Miniature Summer Lantern: DIY
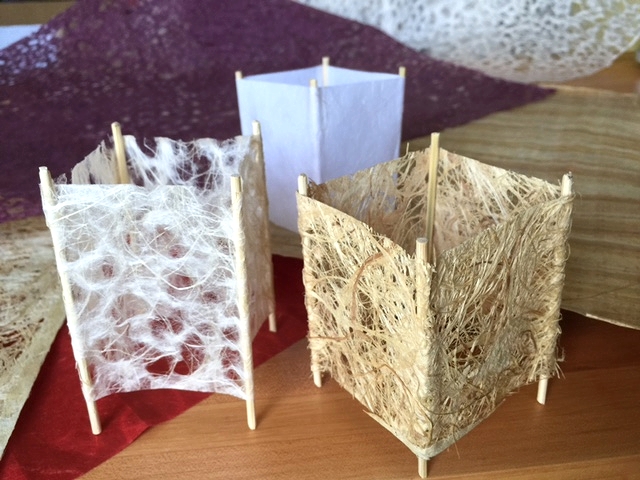
Brighten up a small space with these adorable paper table lanterns! Using a few inexpensive materials, it's easy to make more than one in this DIY, inspired by the Japanese festival known as Obon. Usually celebrated around the 15th of August in many parts of Japan, the tradition includes the custom of "sending off ancestors' spirits" with paper lanterns floated downriver, appropriately known as "floating of lanterns". Try making this miniature tabletop version with some items you may already have on hand.
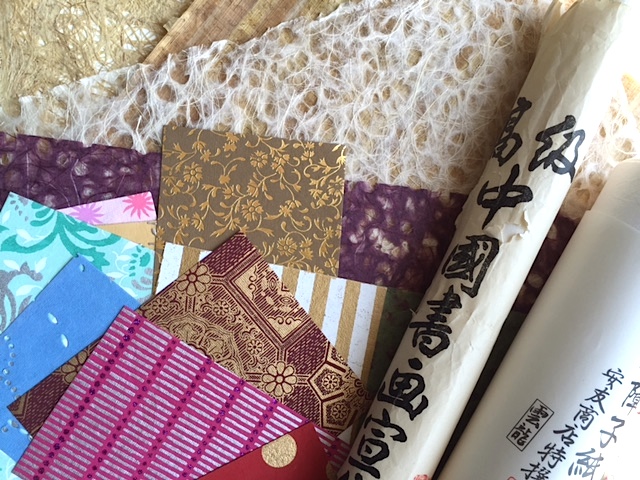
Assorted handmade papers: Japanese lace, rice paper, washi, bark,and Egyptian papyrus.
I love collecting interesting paper scraps, from Japanese washi and lace papers to saving used gift wrap. Transparent papers work best at diffusing light, but you can experiment with any paper you like.
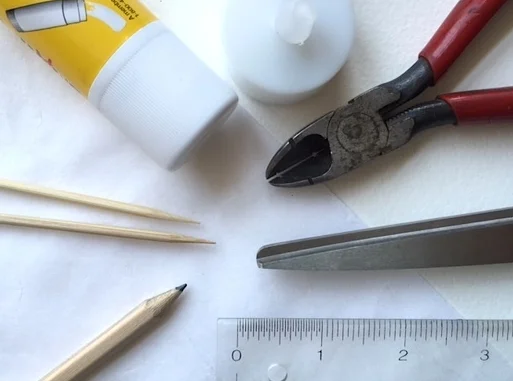
To make one miniature tabletop lantern, you will need:
- a long scrap of paper measuring about 3"x10.5"
- two 10" bamboo skewers
- pencil
- scissors or cutting pliers
- glue
- a battery-operated tea light
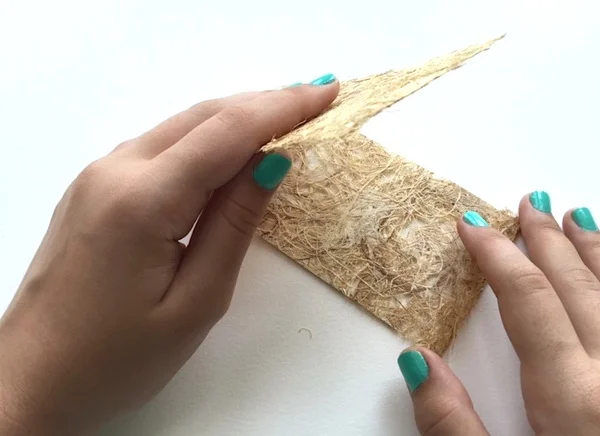
Step 1: Folding the Paper
Fold a half-inch tab at the short end of your paper. (you will glue this part later on). You should now have a 10-inch length, which you want to fold into four equal sides. Keeping the tab closed, fold the entire length in half. Open your paper and fold the left and right sides in to the center (they should resemble two doors). Opened, you should have four 2.5 inch sides, plus the folded tab. Don't worry if they are not exact.
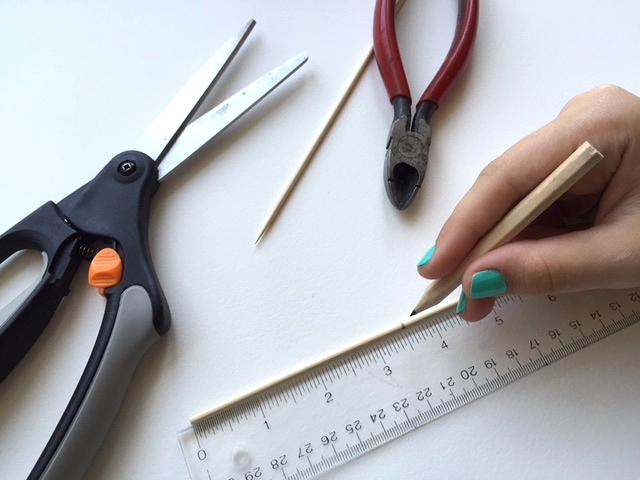
Step 2: Measuring and Cutting the Bamboo Skewers
Please note that these are not hard and fast measurements, so if you are a little off, it does not signal DIY disaster! Use your two bamboo skewers to create the frame of your lantern. For cutting, I only use hand tools, so I recommend using diagonal cutting pliers, to cut these safely and without splintering the ends. If pliers are not available, scissors will work just fine, especially if you are using the really thin bamboo skewers. Just clamp down/secure one end of the skewer while holding the other end, to avoid possible injury from flying bamboo. You will need four 3.5 inch pieces. Alternately, you could cut four-inch pieces, but I just think they look better a little shorter. Using a ruler, I make hatch marks at 3.5 and at seven inches on both skewers, then cut on the marks. I save the pointed ends for a future craft project.
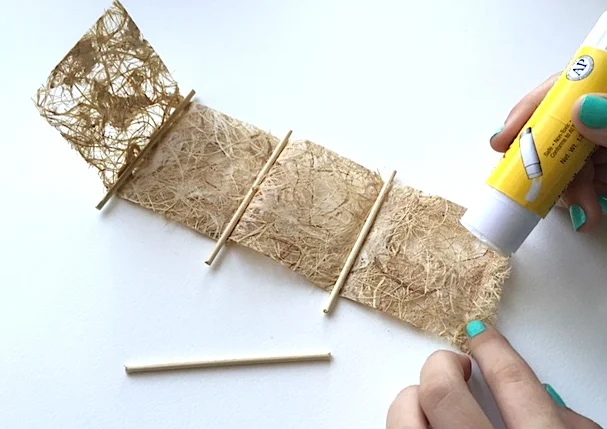
Step 3: The Sticky Part: Gluing the Paper and Bamboo
Lay the paper flat, placing the skewers on your folds, as shown. You may want to leave a little more wood showing for the bottom of the lantern, less on top. If using a glue stick, be sure to carefully glue the fold, and press one skewer piece firmly on top of it. Pinch the paper around the wood to secure it. Repeat for the other three folds. Give the work a little time to rest, then glue the outside of the tab. Stand up the lantern and tuck the glued tab to the INSIDE of the lantern to connect the short ends of the paper.
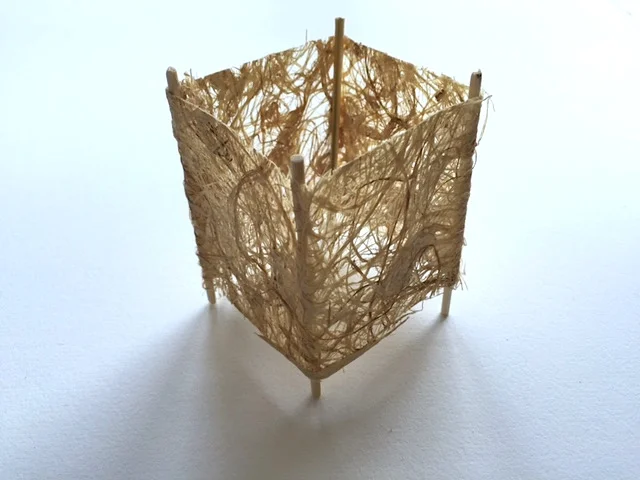
There you have it! Place it over a battery-operated tea light to illuminate it. Experiment with a variety of papers in different sizes to make larger or smaller lanterns.

Post by: Nicoletta Siccone / ETSY Shop: ArtologieDesigns / Website: www.art-ologie.com