
Drop Everything and Draw! Sketching a Pumpkin

Let's take a break and draw a pumpkin! What is your favorite pumpkin shape? A tall oval or traditional round? What kind of stem do you like? Short and sturdy, or long and twisted? Imagine your pumpkin, or go pick your own pumpkin so you have a real one to look at (highly recommended!). No fancy supplies needed, just grab a pencil and paper. These steps illustrate the basic elements of my particular pumpkin. Feel free to go wild and add your own creativity to your sketch!
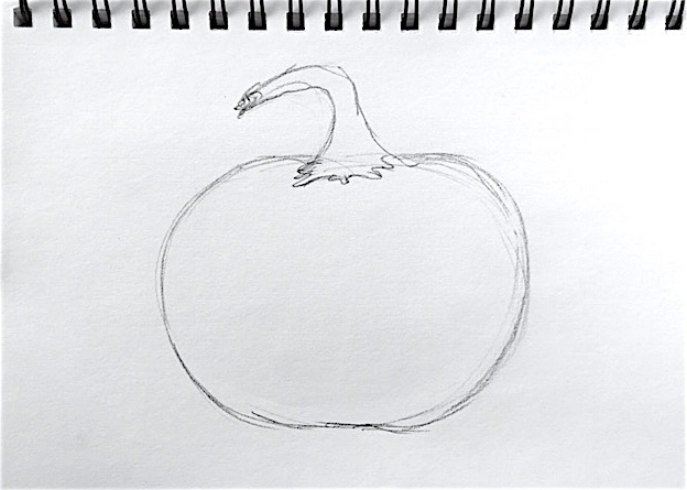
Step 1: Draw your favorite pumpkin shape: oval, round, or bumpy. Tip: be fearless! Add a stem using only curved lines. Sketch a jagged line where it connects to the pumpkin. Make the stem short, long, bent, wide, thin, broken: any way you wish!
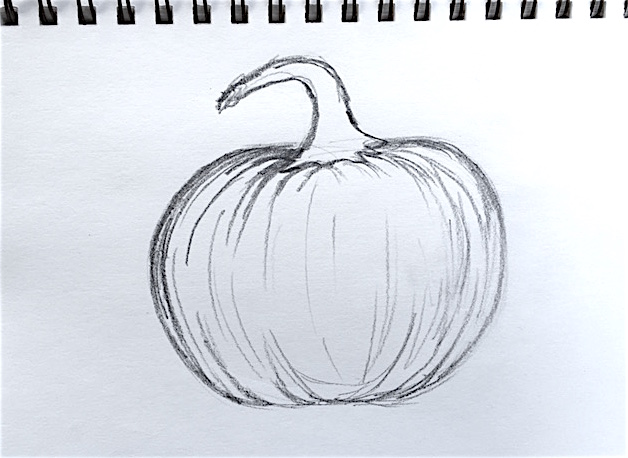
Step 2: Draw the contour lines. These are curved lines which follow the shape of the pumpkin. Sketch the lines spraying out from the stem down the sides of the pumpkin. Add more coming up from the bottom of the pumpkin.
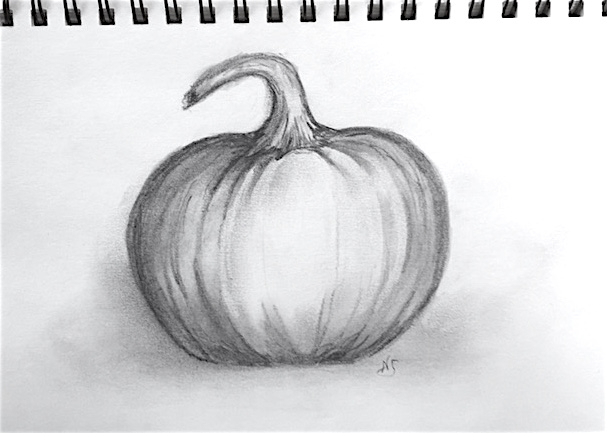
Step 3: Angle your pencil and add dark outlines to edges and contour lines. Smudge the sides of the pumpkin with your finger. Add final smudges to represent surface shadows.You can erase if you oversmudge. And remember, practice makes perfect!

Post by: Nicoletta Siccone / ETSY Shop: ArtologieDesigns / Website: www.art-ologie.com

Nicoletta is a lifelong artist and art educator, with an M.A. in Art Education and Administration. She travels the world seeking cultural inspiration for her art, and has worked in fibers, acrylics, oils, and sculpture. Her current work is inspired by the reinvention of the mundane zipper, elevated to an art form into unexpected jewelry designs. Nicoletta’s artwork is shown throughout New York/New Jersey area and worldwide.