Egghead Learns to Sew, Part II

In this installment of my klutzy-bookish guide to learning to sew on a machine, I explain how to wind a bobbin. For those of you who never took sewing in school, the bobbin is essentially the spool of thread that contributes the bottom stitch. While it's not really necessary to wind your own bobbin --- you can buy them pre-wound --- I thought the process of doing so would be a manageable way to introduce thread and electricity to the post-it labeled parts of my machine and thus, to dip my toe into actually using it.
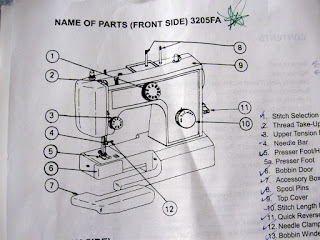
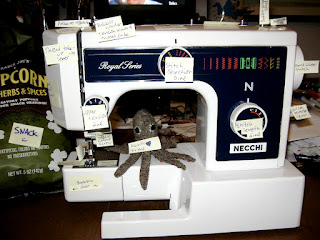
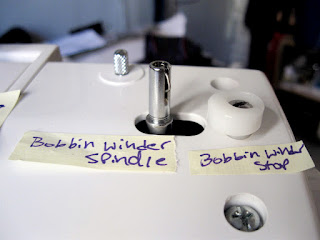
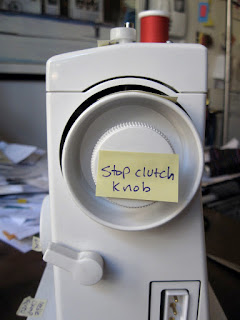
I began by identifying the relevant parts: the spool pin, bobbin winder tension knob, bobbin winder spindle, bobbin-winder stop, and the stop clutch knob. The diagram above shows these parts in relation to each other, albeit from the back of the machine (which, incidentally, I found confusing; the owner's manual is my friend, but, it turns out, not the most reliable one, alas). The pictures below show what these parts actually look like.
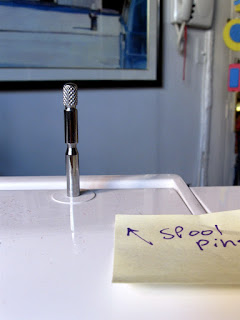
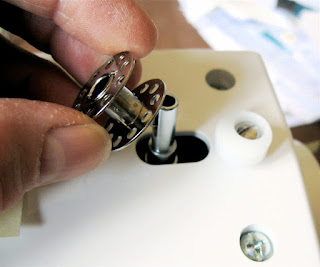
It took me poking around for awhile to figure out how to extend the spool pin so it was long enough to hold a spool of thread. Once I scaled that hurdle I followed the instructions in the owner's manual and placed the bobbin on the bobbin winder spindle, pushed the spindle to the right to engage it, and released the clutch.
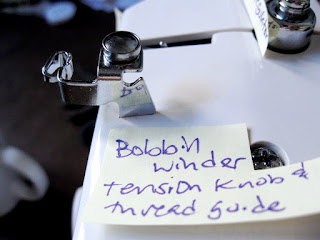
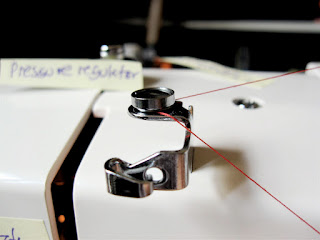
Next I plugged the machine in. Ack! Electricity! We're getting serious now. I paused to collect myself and then put my spool of thread on the spool pin and wound the thread twice around the bobbin winder tension knob. The owner's manual didn't explain how exactly to attach the end of the thread to the bobbin so I just wrapped it around a few times and hoped for the best.
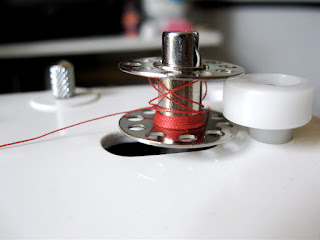
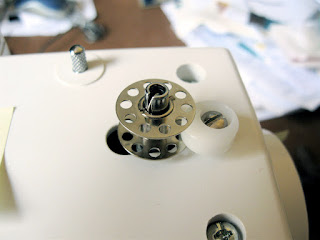
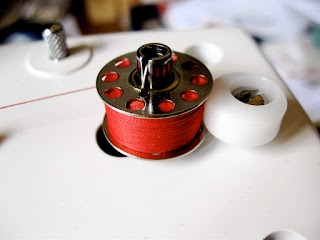
I depressed the foot control and lo! The thread began to wind itself around the bobbin! I marveled at how evenly the the thread distributed itself. I was also impressed that the machine knew when the bobbin was full. When the bobbin winder stop stopped turning, I was done. Nothing got jammed up or tangled. Yay!
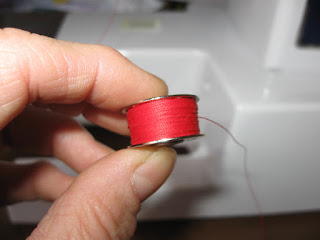
I snipped the end of the thread with a scissor, removed the bobbin from the bobbin winder spindle, and felt accomplished. And relieved.
Until next time, when I go inside the machine to insert the bobbin, and thread the upper thread into the needle --

Linda