A Quilt for Elias

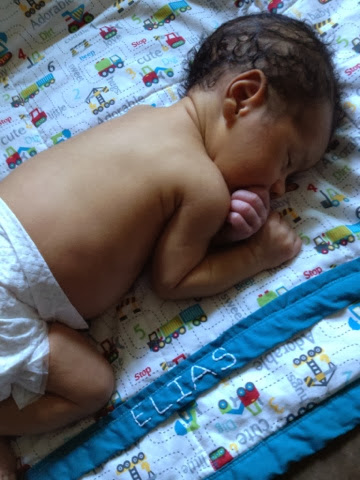
My brother has two little boys, and when the first one was born, I knitted a blanket for him. He was born in late March, so I had plenty of time to knit this blanket. I am not the best knitter, so it took quite a while to finish. My second nephew was born in late June...right in the middle of crafty season (the picture above was taken when he was 5 days old...he was awake and ready to meet me!) I was busy making soap, lotions, etc., so knitting a blanket was not possible. Just not enough time to get it done, so I decided to make a quilt. This is not really a tutorial, but more of an inspiration for you to try something new. If I can do it...anyone can!

I have never made a quilt before, but I was determined to make a nice keepsake for my little nephew. I scoured the internet, and found some basic instructions. Traditionally, quilts are made with different squares of fabric pieced together. But, for my first try, I decided to keep things simple. I purchased 4 yards of a colorful fabric and another 1/2 yard for the trim, I also purchased some crib size quilt batting.

First I cut and measured the fabric and batting, then pinned them together (right sides facing each other.) I sewed them together and turned the fabric right side out. I passed a light iron over the whole thing to smooth out any wrinkles.
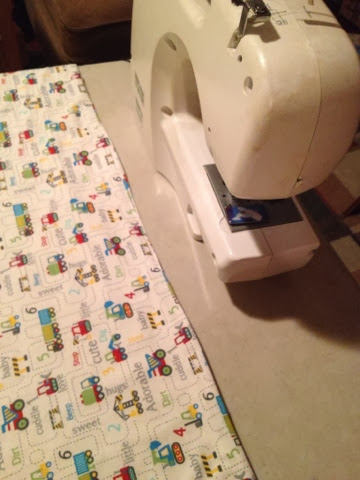
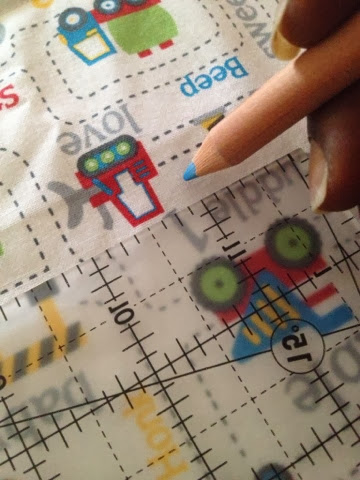
After I had everything assembled, and sewed up all edges, I used a fabric pencil and marked off 12" sections. I then ran the whole thing under the sewing machine to "create" the quilting. I must admit, the lines were very wonky, but not that noticeable.
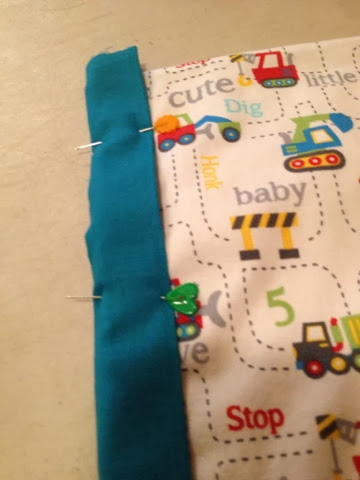
Using a bias tape maker, I made a 2" trim for all 4 edges of the blanket. I pinned the trim in place, and sewed three of them in place.
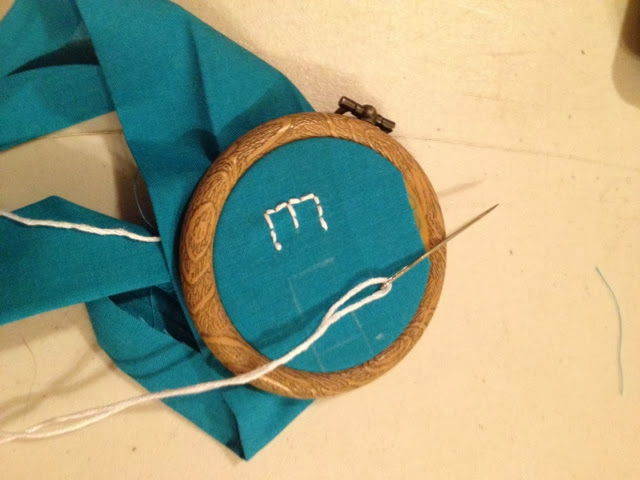
Before sewing on the last piece of trim, I decided to embroider his name on it....just to personalize it a bit more.
Here it is....the finished quilt. I was able to give him the blanket when he was two weeks old. I was so proud of my efforts! Maybe with the next quilt, I will get a bit more fancy, and try to piece different squares together.
Until next time....happy crafting!

Nordea

nordeasoaperie

Interwoven Globe at the Metropolitan Museum

Blue Resist Panel- cotton fabric painted and block printed resist most likely made in India for the American market

Blue Resist Panel- cotton fabric painted and block printed resist most likely made in India for the American market

There is a new exhibit at the Met that I had to see and was going to get there no matter what....which means Harper, my new baby, was most likely coming with me.  So last week I packed up the stroller, brought the carrier in case the stroller wouldn't be allowed and Harper and I headed to the number 4 train at Barclay's Center up to 86th St stop in Manhattan.  I wanted to blog about this exhibit because I know many of us are so busy and may not know what is current at the museums.  And with so much in NYC the options are endless.

Interwoven Globe are fabrics from wall hangings to clothing made in between the 14th and 18th centuries.  This is when exploration was at it's peak.  Most of the fabric was made in India or China for Europe or America markets.  Unlike today's global markets, these items were mainly made for and sold to the wealthy.  There were wall hangings, carpets, decorative textiles, bed covers and waistcoats.  Most of the thread used was silk or metal wrapped thread.

Palampore - from India made for the Sri Lankan market - cotton, paint resist and mordant, dyed 72" x 44"

Palampore - from India made for the Sri Lankan market - cotton, paint resist and mordant, dyed 72" x 44"

The above piece is called a palampore which was usually a bed cover drawn or painted then dyed.  What I found amazing is that this type of design you will see in Pottery Barn or Macys.  It is a very common design for sheets and duvet covers.  Things haven't changed much! However this piece would be purchased by only the wealthiest families.

double sided wall hanging from China made for the European market in the second half of the 18th century.  This is silk satin and embroidered with silk.

double sided wall hanging from China made for the European market in the second half of the 18th century.  This is silk satin and embroidered with silk.

The above double sided wall hanging was most likely used in a window so art can be seen from the outside and on the inside.  This also may have been a substitute for wall paper since it couldn't be produced fast enough for the European market.

By the second half of the 18th century India products were being largely influenced by the west.  This was reflected mostly by color and slightly by design.  Chintz became popular in the Netherlands being made in India or China.

A few more pieces that caught my eye.

Fustian with pheasants and exotic flowers.

Fustian with pheasants and exotic flowers.

The art is a European interpretation of foreign motifs. Fustian is fabric that is cotton in the warp and linen in the weft.

This was copperplate printed which became popular in the second half of the 18th century

over 7 feet long - from India made for the Japanese market in the 18th century cotton and paint resist, then dyed.

If you are looking for a few hours of inspiration definitely try to make a trip to the museum.  And if you have a baby, strollers are allowed (not the double wide ones) and Harper seemed to enjoy looking at all the colors of the fabrics.

Have a great week!

Tracey

  • http://traceytoole.blogspot.com/
  • https://www.etsy.com/shop/traceytoole

DIY metro card holder (vs.2)

In my last blog post, I made a metro card holder, but it wasn't the one I REALLY wanted to make. I actually wanted to make a type of billfold with two pockets. This is similar to the plastic case that I had been using since the early 90's (which understandably was on it's last leg.)

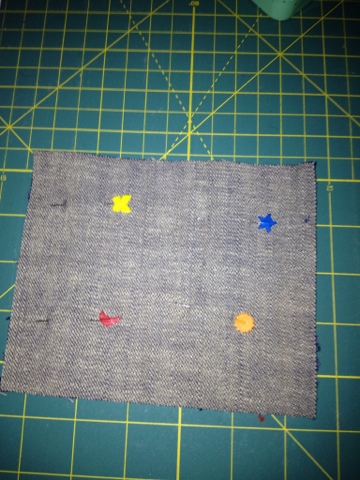
This one takes a bit more time, but I like the results a lot better. I started with two pieces of denim about 6"x5" Again, I am still working on the huge pile of old jeans I have stashed in the corner of my bedroom.

I pinned the pieces together with the right sides together. Then I sewed around 3 sides, leaving one side open.

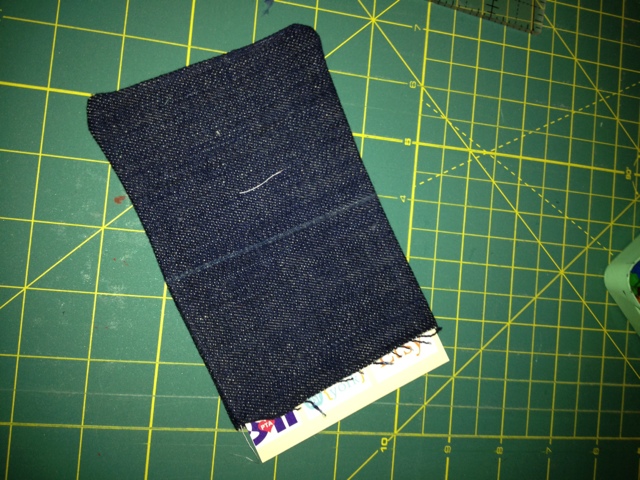
After turning the denim pouch right side out, I cut out a piece of stiff paper (like a file folder) and cut it to size, and tucked the paper inside the pouch. Then I sewed up the open side, and folded the pouch in half.

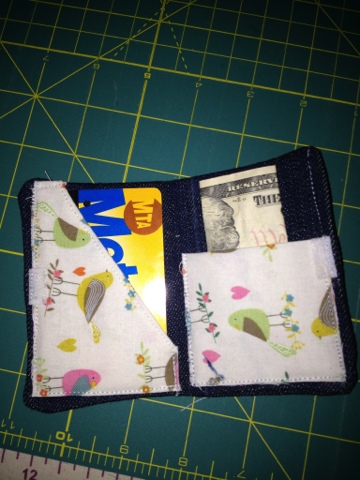
Then I cut out two pieces of fabric and sewed it to the inside of the pouch to create pockets. I like two pockets...metro card on one side and a bit of cash (or credit cards) can be placed in the other pocket.

For a bit more security (especially if I am storing cash) I added a bit of velcro on the sides. I cut out a small square, glued it in place, then gave it a quick stitch, just to make sure it stayed in place. This way, when I close the billfold...it stays closed!

That's it...quick and easy!

Until next time....happy crafting!

Nordea  /  nordeasoaperie

DIY MetroCard Holder

On Sunday, New Yorkers got the bad news that metrocards were going up in price again. If my memory serves me, this is the 4th fare hike in 5 years. In addition to the higher fare, we now have to pay $1 if you buy a new card, instead of refilling an old one.

That means that taking care of your metrocard is more important than ever! Keeping the card safe from the elements (my huge pocketbook full of stuff) needs to be priority number one! I do have a little plastic sleeve, that has seen better days, so I decided to make something new to keep it dust and scratch-free. I am always looking for uses for the huge pile of old jeans stacked in my apartment, so a denim metrocard holder is what I decided to make.

  1. Measure the metro card, and cut out two pieces of denim slightly larger to account for seam allowance.
  2. Place the right sides together and pin them in place. Sew around the perimeter of three sides, leaving the top open.
  3. Trim the excess fabric around the seam, and turn the fabric inside out so that the right sides are on the outside.
  4. Cut a piece of stiff paper to size(like a file folder) and slip it inside of the top opening to give the holder a bit of structure. Once you slip in the stiff paper, go ahead and sew up the top of the metrocard holder.
  5. Cut a piece of decorative fabric slightly shorter (length) than the denim square. The width should be the same.
  6. Place the fabric on top of the denim square and sew around the three sides, leaving the top open so you can slip the metrocard in the pocket. That's it...quick and easy!

Until next time....happy crafting!

Nordea / nordeasoaperie

Fabric Covered Buttons

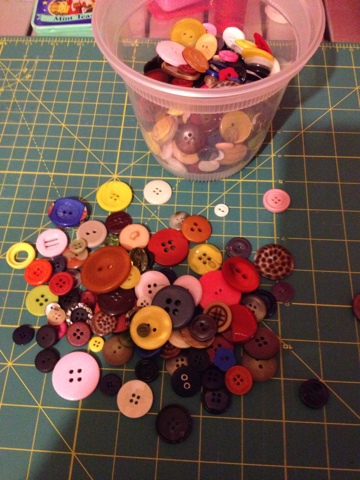
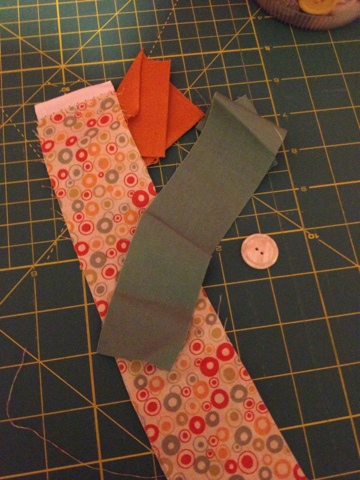
As you can see, I've got a lot of buttons in my stash. Unfortunately, sometimes none of them will work for a particular crafty project I may be working on. Last September, I decided to finally replace a missing button on a jacket. I headed down to a button store in the garment district and ended up buying a button for $3. Yes, $3 for one button. I found the price to be ridiculous, but I had no choice. A few months later, I came across instructions online to create fabric covered buttons....so I will never pay $3 for a button again!

First, pull out your stash of fabric scraps. It doesn't take a lot of fabric, so there is probably something in the fabric stash that will be useful. I decided to use the greenish-colored fabric (seafoam) because I had no buttons that matched the fabric.

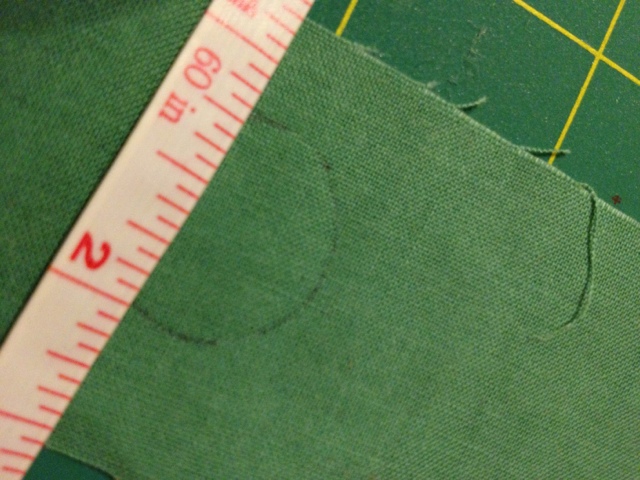
Measure the distance from the edge of the button to the middle of the button. You want the fabric to be able to reach the middle so you can completely cover the button.

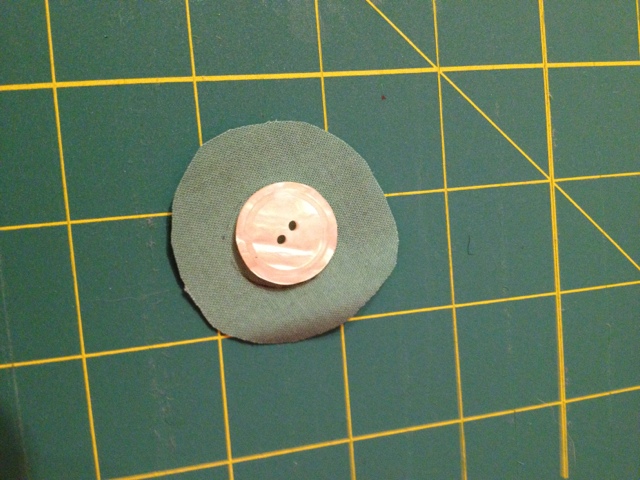
I traced a circle on the fabric around the button, making sure that there was at least 1/2 inch extra all around.

Then, I cut the fabric. My measurements were pretty close, but it wasn't necessary to be exact.

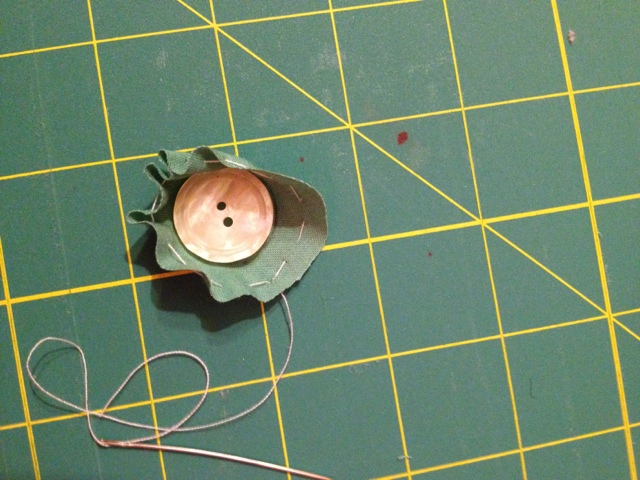
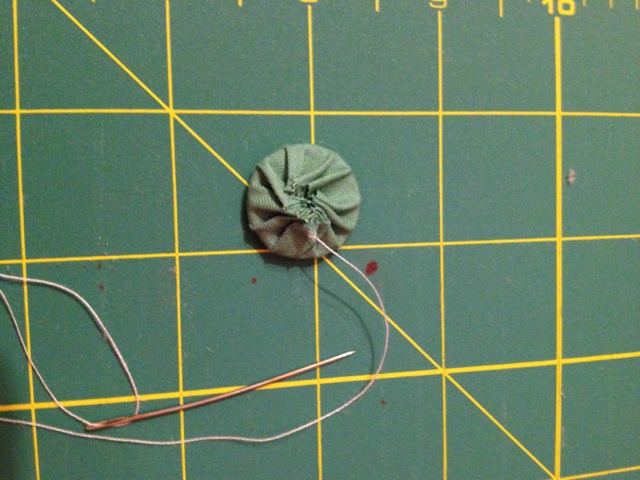
Taking a needle and thread, I used a running stitch (I think that's what it's called) and stitched along the perimeter of the fabric circle.

After placing the button in the middle of the fabric circle, pull the thread taut so the fabric gathers around the button and covers it completely.

You can even trim a bit of the fabric around the outside of the stitches to reduce the amount of bulk behind the button. You don't want too much fabric because you want the button to lay as flat as possible when you use it.

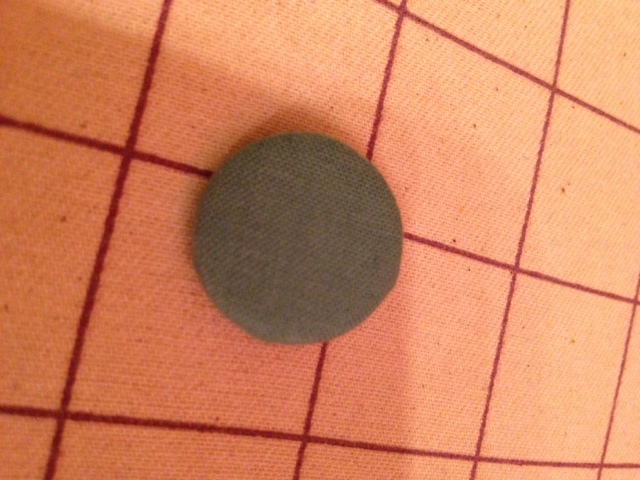
Continue to stitch up the fabric until it is taut around the button. Knot off the thread, and you are done! A beautiful button for whatever project you are working on!

Until next time....happy crafting!

Nordea nordeasoaperie

Quick & Easy DIY Fabric Coasters

Now that I have a new obsession in sewing, I am starting to find all sorts of fun projects to work on. I happen to have a weakness for coasters. I have them all over my apartment, and I always have some on my table at craft fairs (so that customers can put down their drinks and pick up my soap!) So, here is a quick and easy tutorial that anyone can do:

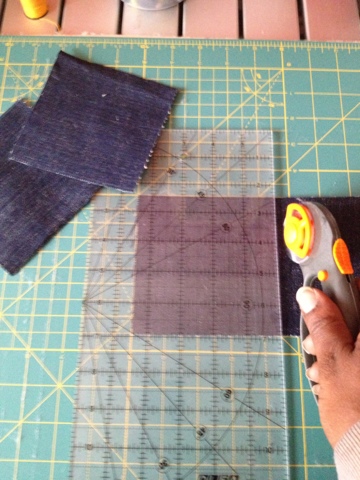
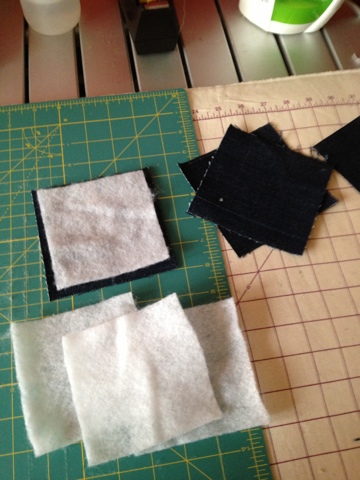
First, I cut out four squares of fabric for the top portion (an old pair of jeans!) and another four squares in a coordinating fabric (the same size) for the bottom portion.

Then I cut out four squares of batting slightly smaller for the padding.

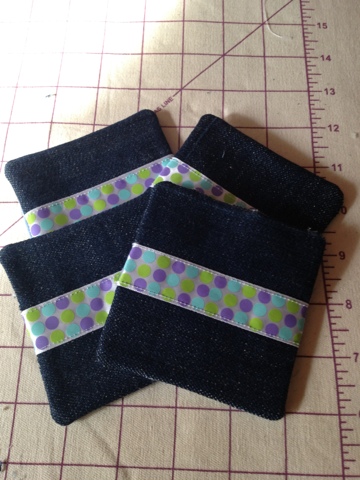
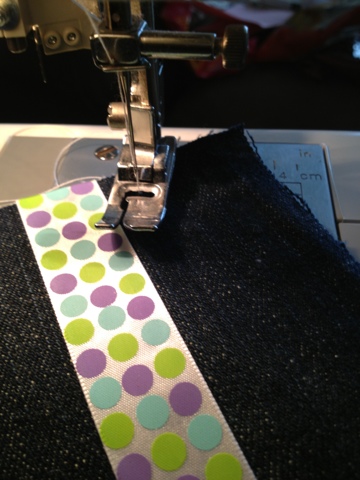
Then I cut four strips of colorful ribbon that would fit across the front of the top square. I glue it on to keep it in place before sewing.

Using my trusty machine, I sew the colorful ribbon strip onto the front of each top square.

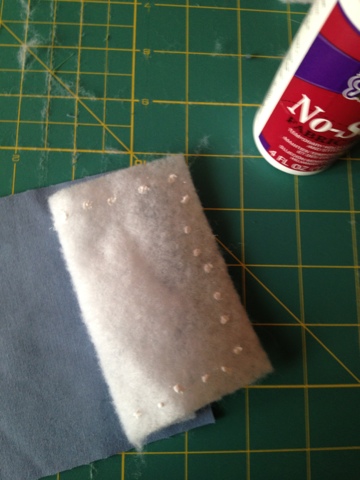
Then, I glue the batting onto the back of each bottom square.

I place the top and bottom squares (right sides facing each other) together and pin them in place before sewing them up. You want the right sides to face each other because you need to leave a 1.5" section open so you can turn the completed square inside out. If you look closely, you can see where I marked my opening in blue marker near the top of the square.

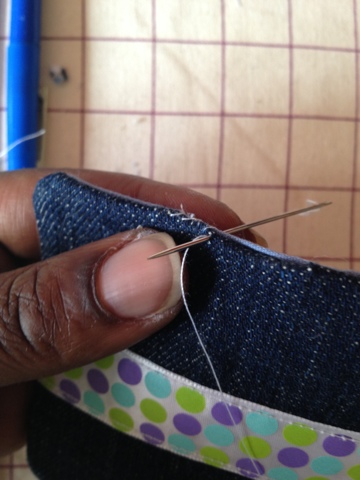
After you turn the square inside out, the right sides should be facing out, and you simply need to hand stitch the small opening to finish it up.

So there you have it....easy peasy fabric coasters! Great for a quick housewarming gift, or if you are heading to a friend's house for dinner...I always like to show up with a little gift of appreciation!

Until next time....happy crafting!

Nordea / nordeasoaperie