Fall/Winter 2010-11 Jewelry Trends
The Fall/Winter 2010-11 fashion season includes luxe fabrics, natural materials and textured surfaces in an earth tone palette. Looks that combine fabrics (shearling, lace, faux fur, velvet, knits and leather) are central to this season’s style. Jewelry designs for the season by members of The {NewNew} team build on and complement this direction. Be on the lookout and choose:
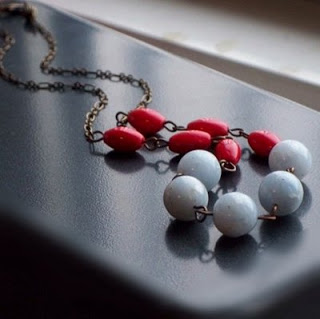
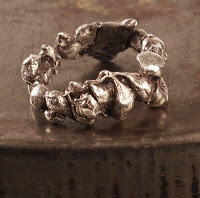
Natural Materials and Metals - Look beyond gold and go for silver, copper, bronze and steel. Textured surfaces including hammered, aged, and scuffed add dimension and added interest to pieces this season. Natural materials such as stone, wood, and colorful, but not precious stones, hit the mark this Fall/Winter. In line with this season’s color palate you’ll notice jewelry designers have dialing down the brightness of colors, opting for more rich colors with depth.
Lack of Uniformity and Less Structure - Designs with different textures, natural elements, asymmetrical and free flowing forms will compliment this season’s fashion nicely.
Have fun choosing the latest styles from The {NewNew} Jewelry Designers. Whatever you are wearing this Fall/Winter, you are sure to find the perfect jewelry to go along with it from this talented group.
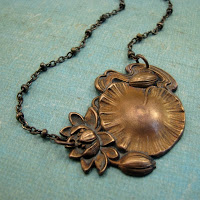 |
| Waterlily Necklace $32 AdornmentsNYC |
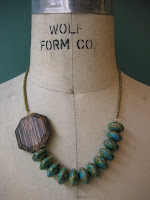 |
| Hexagon Necklace $45 NKAlexan |
Natural Materials and Metals - Look beyond gold and go for silver, copper, bronze and steel. Textured surfaces including hammered, aged, and scuffed add dimension and added interest to pieces this season. Natural materials such as stone, wood, and colorful, but not precious stones, hit the mark this Fall/Winter. In line with this season’s color palate you’ll notice jewelry designers have dialing down the brightness of colors, opting for more rich colors with depth.
 |
| News To My Ears $27 7oh1Jewelry |
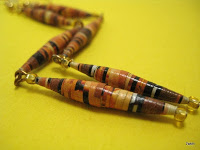
Recycled, Alternative Materials - The shift away from gold and polished metal has opened use of more and more alternative materials in jewelry design. We are seeing more and more jewelry and other fashion accessories made out of recycled, alternative or repurposed materials.
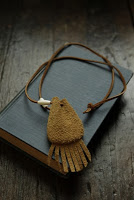 |
| Suede Pouch Necklace $35 ACommonThread |
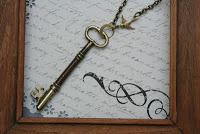 |
| Skeleton Key Necklace $26 MadebyMoe |
Have fun choosing the latest styles from The {NewNew} Jewelry Designers. Whatever you are wearing this Fall/Winter, you are sure to find the perfect jewelry to go along with it from this talented group.
 |
| Holly EllisDesign |