Let's Get Small with the {NewNew}

One of my favorite museums in NYC is the Museum of Arts and Design (MAD). Located in Columbus Circle, it is a very manageable 4 floors of exhibits. What drew me was their current show entitled Otherwordly: Optical Delusions and Small Realities. It consists of "small-scale hand built depictions of artificial environments and alternative realities" aka dioramas and scale models. Something most of us made as kids, these are grown-up versions that are just breathtaking. Amy Bennett created a tiny hospital floor with different rooms and then makes paintings of her models. Oliver Boberg designed a city block of what looks like the Bronx, circa 1980s. Each diorama has a large photograph mounted near it and looking at them, you can't believe they are actually photos of models and not the real thing. I love hyperrealism as well as dioramas, so this exhibit was made for me.
Here are some NewNew artists' use of miniatures:
Aminyitray's Found Ossuary is just over 1.25 inches tall! What a unique necklace this would make.
Wear a complete suburban dream complete with picket fence on your finger with JDavisStudio's amazing sterling silver ring!
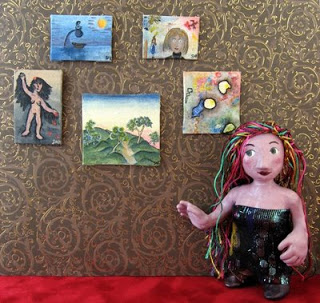
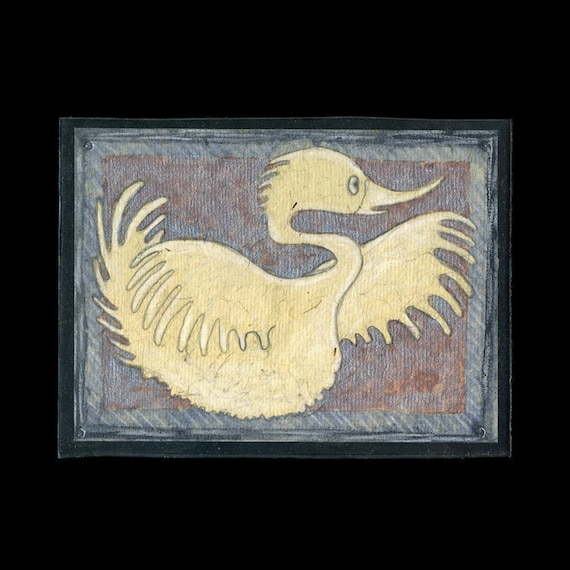
This mini original art by LookCloselyPress will be just the right think to brighten up that little space!

Tiny, magical dragons by LaMuseKalliope can help make your wishes come true. Click here to see how!
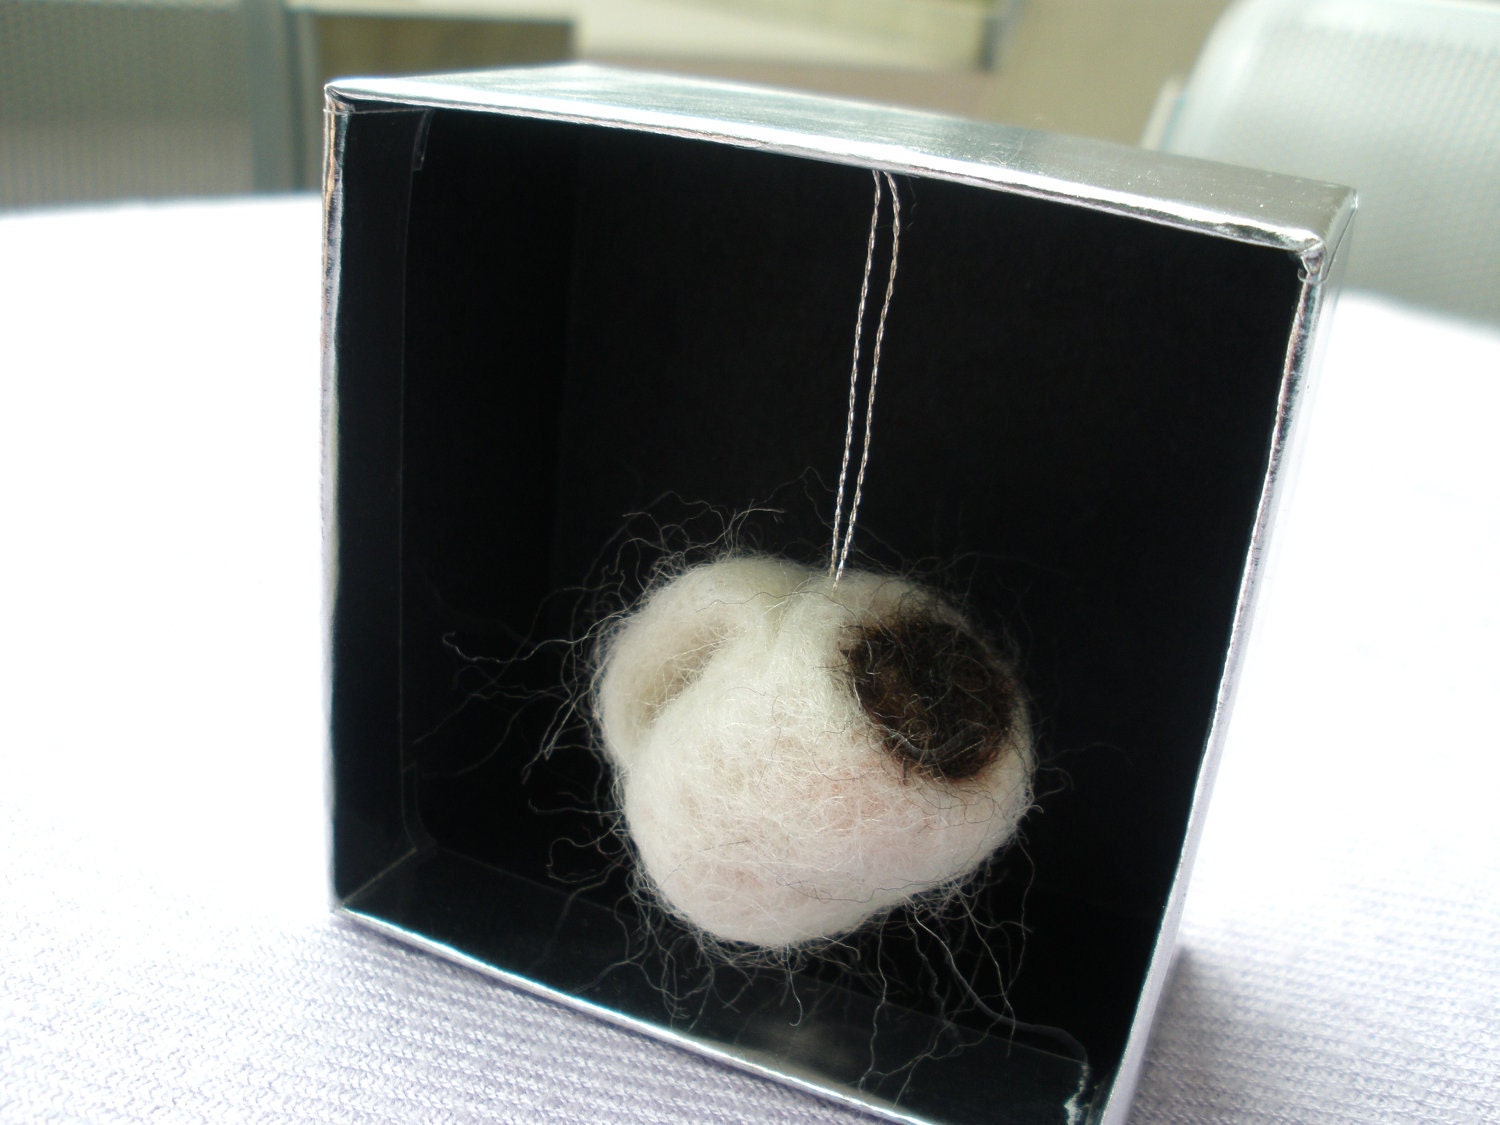
For us caffeine-lovers, ProjectsbyCarm has created a teensy felted coffee and hot chocolate ornament!
Until next time, say hello to the johnny-jump-ups (the gorgeous mini pansies)!

LuCrafts

How-To: Making a Miniature Artist's Canvas

I have always been obsessed with creating miniature versions of the things I use in my everyday life. I think the extra focus required to make miniature objects imbues the tiny things I make with a special quality--as if they are more charged with meaning than they would be at their regular size. Another reason to spend your time making tiny stuff is that it doesn't take up a whole lot of space, which, if you have friends who live in small apartments and want to give them beautiful handmade things but don't want to burden them with a lot of clutter, is a very good thing!

This tutorial will teach you how to make dollhouse-sized blank artists' canvases from empty tissue, granola bar and cereal boxes, which you can then paint and add to friends' art collections. I am hoping I can spark a whole trendy miniature painting craze!

Here's what you will need:
-empty boxes made from thin cardboard that you otherwise would have tossed into the recycling
-muslin fabric
-white glue
-acrylic gesso
-a normal size brush for applying the gesso, plus teeny tiny ones for doing the actual painting
-acrylic paints
-a gridded acrylic ruler is helpful for making accurate right angles when cutting up your boxes

Step 1: Figure out what size you want your miniature canvas to be. You can just eyeball the size if you like, but if you want it to be the perfect size to fit into a dollhouse, you'll want to do a little math. The standard size for dollhouse accessories is 1/12 scale, which means that you want to divide all your regular measurements by 12. If the full-sized painting would be 18 by 24 inches, then you want to make your mini canvas 1 and 1/2 inches by 2 inches.


Step 2: Once you have cut your cardboard to size, spread it with a thin layer of white glue and stick it to a piece of muslin. Make sure that the sides of your canvas are parallel to the grain of the fabric.


Step 3: Fold the fabric around to the back of the canvas and glue it down.


Make sure the folded fabric edge is glued slightly inside the edges of the cardboard so it can't be seen from the front.


Step 4: When your glue has dried, paint your canvas with a thin layer of acrylic gesso. You want to make sure not to put the gesso on too thickly, because being able to see the grain of your muslin is crucial to having a miniature painting that looks like the full-sized version. If you want to have an especially texture-y canvas, try different types of fabric and see which one looks best.


Paint gesso on the edges & back as well.


That's it! These miniature canvases are so easy and fun to make that you can create hundreds of them in nearly no time, then invite some friends over to have a painting party.


Then you and your friends can have a miniature art show:


Stella (lookcloselypress)

Tutorial: Use Heat Transfer Foil to Create a Stylish Laminated Pendant

This tutorial will show you how to create a super stylish pendant using heat transfer foil and watercolor paints to embellish a photocopy. In the spirit of the DIY Wedding idea, I decided to ask my friend Phil Guie to draw an image for his girlfriend, my friend and fellow NewNew team member Kari Love, something that he knew she would find very romantic. I took Phil's drawing, an adorable depiction of the eternal love between the Unicorn and the Narwhal, and put a frame around it, then shrunk it down to the right size to be worn as a necklace. With no further ado, here are all the steps you will need to follow to make a shiny, uniquely romantic laminated pendant for the one you love.

Step #1: Assemble Your Materials! You might not have all of the materials for this project just lying around, but the're all things that are good to have on hand and should come in handy for millions of future projects.


Materials:
1. Black-and-white photocopy of an image you would like to make into a pendant. A black-and-white laser print should also work. It's fine to make your copies on regular 20 lb copy paper.
2. Gold foil joss paper or other decorative paper for the back of the pendant.
3. Heat Set Laminate Pouches, 10 mil thickness. You should use small pouches, such as those made to laminate business cards, for this project, because when you are laminating small items, a small pouch is less likely to trap ugly air bubbles that will cause you trouble.
4. A regular home iron.
5. Metallic heat transfer foil. Transfer foil can be purchased in New York City at the Pearl Paint Craft Center on Lispenard St. or online at one of my favorite suppliers, Dharma Trading Co.
6. 1/16" eyelets and an eyelet setting tool. 1/16" eyelets can be hard to find. I ordered mine online from this company.
7. A 1/16" hole punch. You can find these at most art supply stores.
8. A hammer.
Things not pictured that you will also need: A glue stick, scissors, Metal jump rings, and a necklace chain to put your pendant on.
And, finally, you will need access to a laminator.


Step #2: Transfer the foil onto your image. Set your iron to the Cotton setting, no steam. Place the foil on top of your photocopy with the shiny side facing up. The foil should transfer after a few seconds of heating with the iron. After you peel the foil sheet off of your image you may want to gently rub the image with a finger to make sure all the foiled lines are clean and crisp.

The photo below shows the copied drawing pre- and post-foiling.

Step #3: Make your image beautiful by painting with watercolors. You could also color it with colored pencils or markers.

Step #4: Glue your image to the back of the joss paper so that the back of your pendant will be an attractive gold color instead of just white. Any decorative paper or magazine image will work to make an attractive back for your pendant.

Step #5: Cut your image down to its final size.

Step #6: Laminate your image. You can laminate multiple pendants together, but you should leave around 3/8" of space between them to make sure the laminate seals completely around each one.


Step #7: Cut your pendant out, leaving about a 1/16" seal of laminate all the way around.


Step #8: Make a hole with your 1/16" punch. For rectangular pendants, it helps to measure and make sure your hole is in the center so that the pendant hangs straight.


Step #9: Insert an eyelet into the hole and set it with the eyelet setting tool and a hammer.

Step #10: Add a jump ring, slip your pendant onto a chain, and give it to the one you love!


Tutorial: Using Beaded Jacobean Couching to Fill Embroidered Shapes

This embroidery technique is a variation on a stitch called "Jacobean Couching" that uses beads to give your project some added elegance. This project is not difficult, though it is helpful to have some knowledge of basic embroidery. Here are the materials you will need:

1. Embroidery Floss.
2. Seed Beads.
3. Regular sewing thread in a color that matches your beads.
4. A heat-transfer pencil.
5. An air-soluble pen (a pen that makes a mark which will disappear in a day or so).
6. A transparent gridded ruler.
PLUS, tracing paper, scissors, a home iron, fabric to embroider your design onto, and an embroidery hoop. For this project I used a 6" hoop.

STEP 1: Trace your design onto tracing paper using the heat transfer pencil. I chose an eight pointed star - you can choose pretty much any image you like, as this technique works well for filling any simple shape.

STEP 2: Iron the design onto your fabric. Use the hottest setting that will work for your chosen fabric, turn the steam setting to "off," and do not let your design shift while ironing. My design was transfered after about ten seconds of ironing.

STEP 3: Outline your design using any stitch you like. I chose to use the Stem Stitch, which is illustrated below. For this project, I did my stitching with three strands of embroidery floss. A handy set of illustrations for various outline stitches can be found here.

STEP 4: You are going to run a series of parallel threads over the entirety of your design. I chose a distance of 3/8". Using your transparent gridded ruler, make small dots right next to your outline, indicating where your parallel stitches should be placed. The ink should disappear in a day or so, but it's still best to keep your marks as small as possible.

STEP 5: Using the marks you've made, create a series of long parallel stitches that fill up your entire shape.


STEP 6: Decide whether you would like to end up with a shape filled with squares or diamonds. If you want squares, you should make your second set of parallel stitches at a 90 degree angle to the first set. I decided I wanted diamonds, so I chose a random angle, and simply made all my stitches parallel to the first line that I made at random.

STEP 7: Once you have filled your entire shape with a grid of long stitches, you can start adding the beads. Thread your needle with a double strand of regular sewing thread, then bring your needle up through the fabric right next to the place where two threads cross.

Thread a bead onto your string, and bring your needle back down through the fabric on the opposite side of the crossed threads.

To make sure your beads are securely stitched onto the fabric, bring your needle back up, and make a second stitch through each bead before moving on to anchor the next intersection of threads. Keep going until you've tacked down all your threads.

STEP 8: Admire the beauty!