Romantic Wedding Favors
 Seventeen years ago my husband and I had, apart from the keg of beer and some catered Chinese food, a completely Handmade Wedding. We had very little money but plenty of friends and relatives ready to help us out, and since I lived at the General Theological Seminary in Chelsea, a completely gorgeous spot to get married in. So I gave myself a year to complete all the tasks, which included designing and sewing the dresses for myself and the bridesmaids, making the cake, the flowers, the invites, the decorations and of course, the wedding favors.
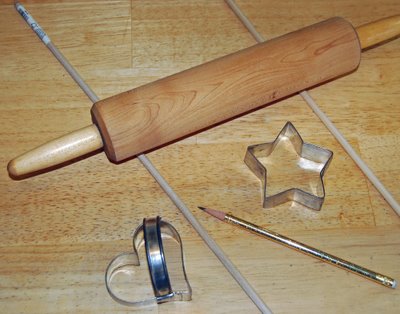
I first looked for a nearby ceramics studio, and inquired to see if they would fire a box load of flat hearts for me and what sort of clay I needed to order. I am not in the ceramic arts, apart from taking a few high school classes, but I know that different studios use different kinds of clay and fire them at different temperatures. You don't want to get porcelain clay if the people with the kiln never fire anything that high.
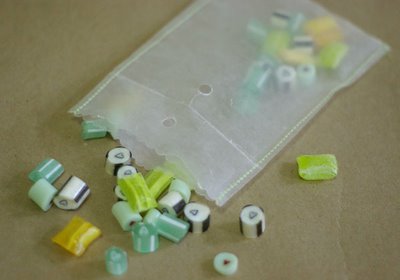
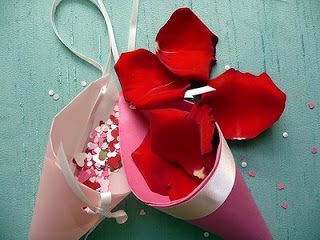
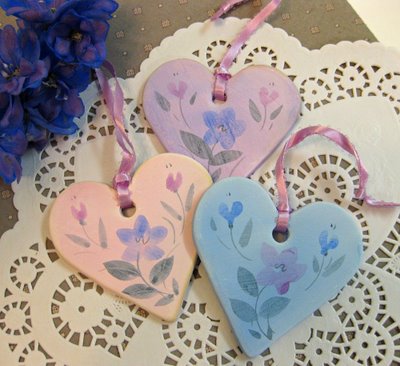
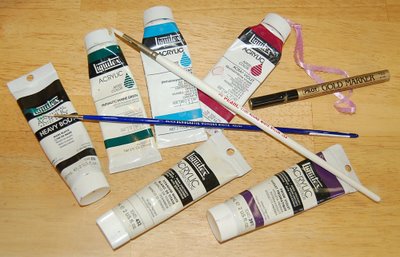 When I got them back I had no intention of dealing with glazes and a second firing, for as I said before, I had more time than money. Instead I dipped them in a very, very watery acrylic bath. I mixed up three colors with my acrylic paints: white, magenta, and a little red for the warm pink, phthalocyanine blue and white for the sky blue, and ultramarine blue, magenta, and white for the lavender. I then slowly mixed in more and more water so that each was more like colored water than paint. Using my fingers, I dipped each heart in one of the colored waters and then put it on wax paper to dry, though I think I would use tweezers or tongs to do it today. It makes for a very pleasant soft watercolor effect and the 300 hearts were done in no time.
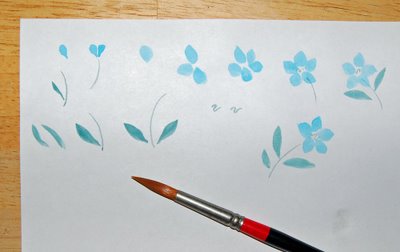
I painted the flowers on the hearts in relatively simple shapes, using just these two kinds of brushes, a synthetic #1 round and a #8 or #10 round. The flowers and color scheme matched the wedding party and the flowers I had painted on the bridesmaid dresses. It is important, when using acrylics in this manner, not to use the colors straight out of the tubes or too thickly. My paint is always in a consistency somewhere between olive oil and water. If you are not handy with brushes, practice on paper first, and work with the pointy end of the bristle to make sharp points to the leaves or petals. The leaves may look like one brush stroke, but in fact require two to three strokes to make those shapes.
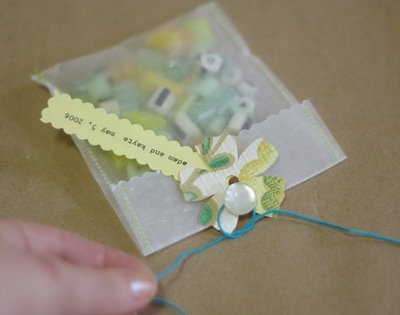
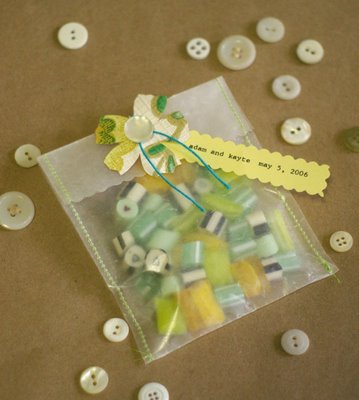
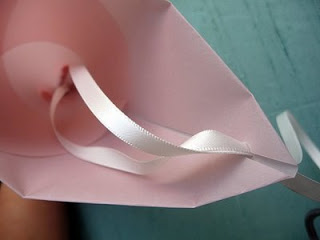
 One friend painstakingly wrote our names and the date of our wedding on the back while another tied on the ribbons, and our nieces handed out the favors to our guests. Many of my friends and relatives still have them!
 I think today there are many different air-drying clays you could use instead of actual pottery clay. They are available at art stores and online suppliers and would require a little research. There is certainly a greater variety of cookie cutters! You are sure to find a shape with special meaning for the special couple. For an experienced crafter this is a fun way to handmake a wedding favor that your friends will keep and remember.