Glass Fusing Class

Glass Fusing Class

The tools of the trade

I love working with glass.  While I've done lamp working for many years, I had never done glass fusing, or kiln working, before and wasn't too interested until I found a new store opening along one of the streets I often used in Mamaroneck.  This turned out to be a new store, workshop and gallery for Bullseye Glass, an American art glass manufacturer based in Portland, OR.  I had to check this out. 

It is only a street away from the Mamaroneck Metro North Station.  Easy trip from Grand Central Terminal in the city!

A veritable candy shop for glass fanatics!

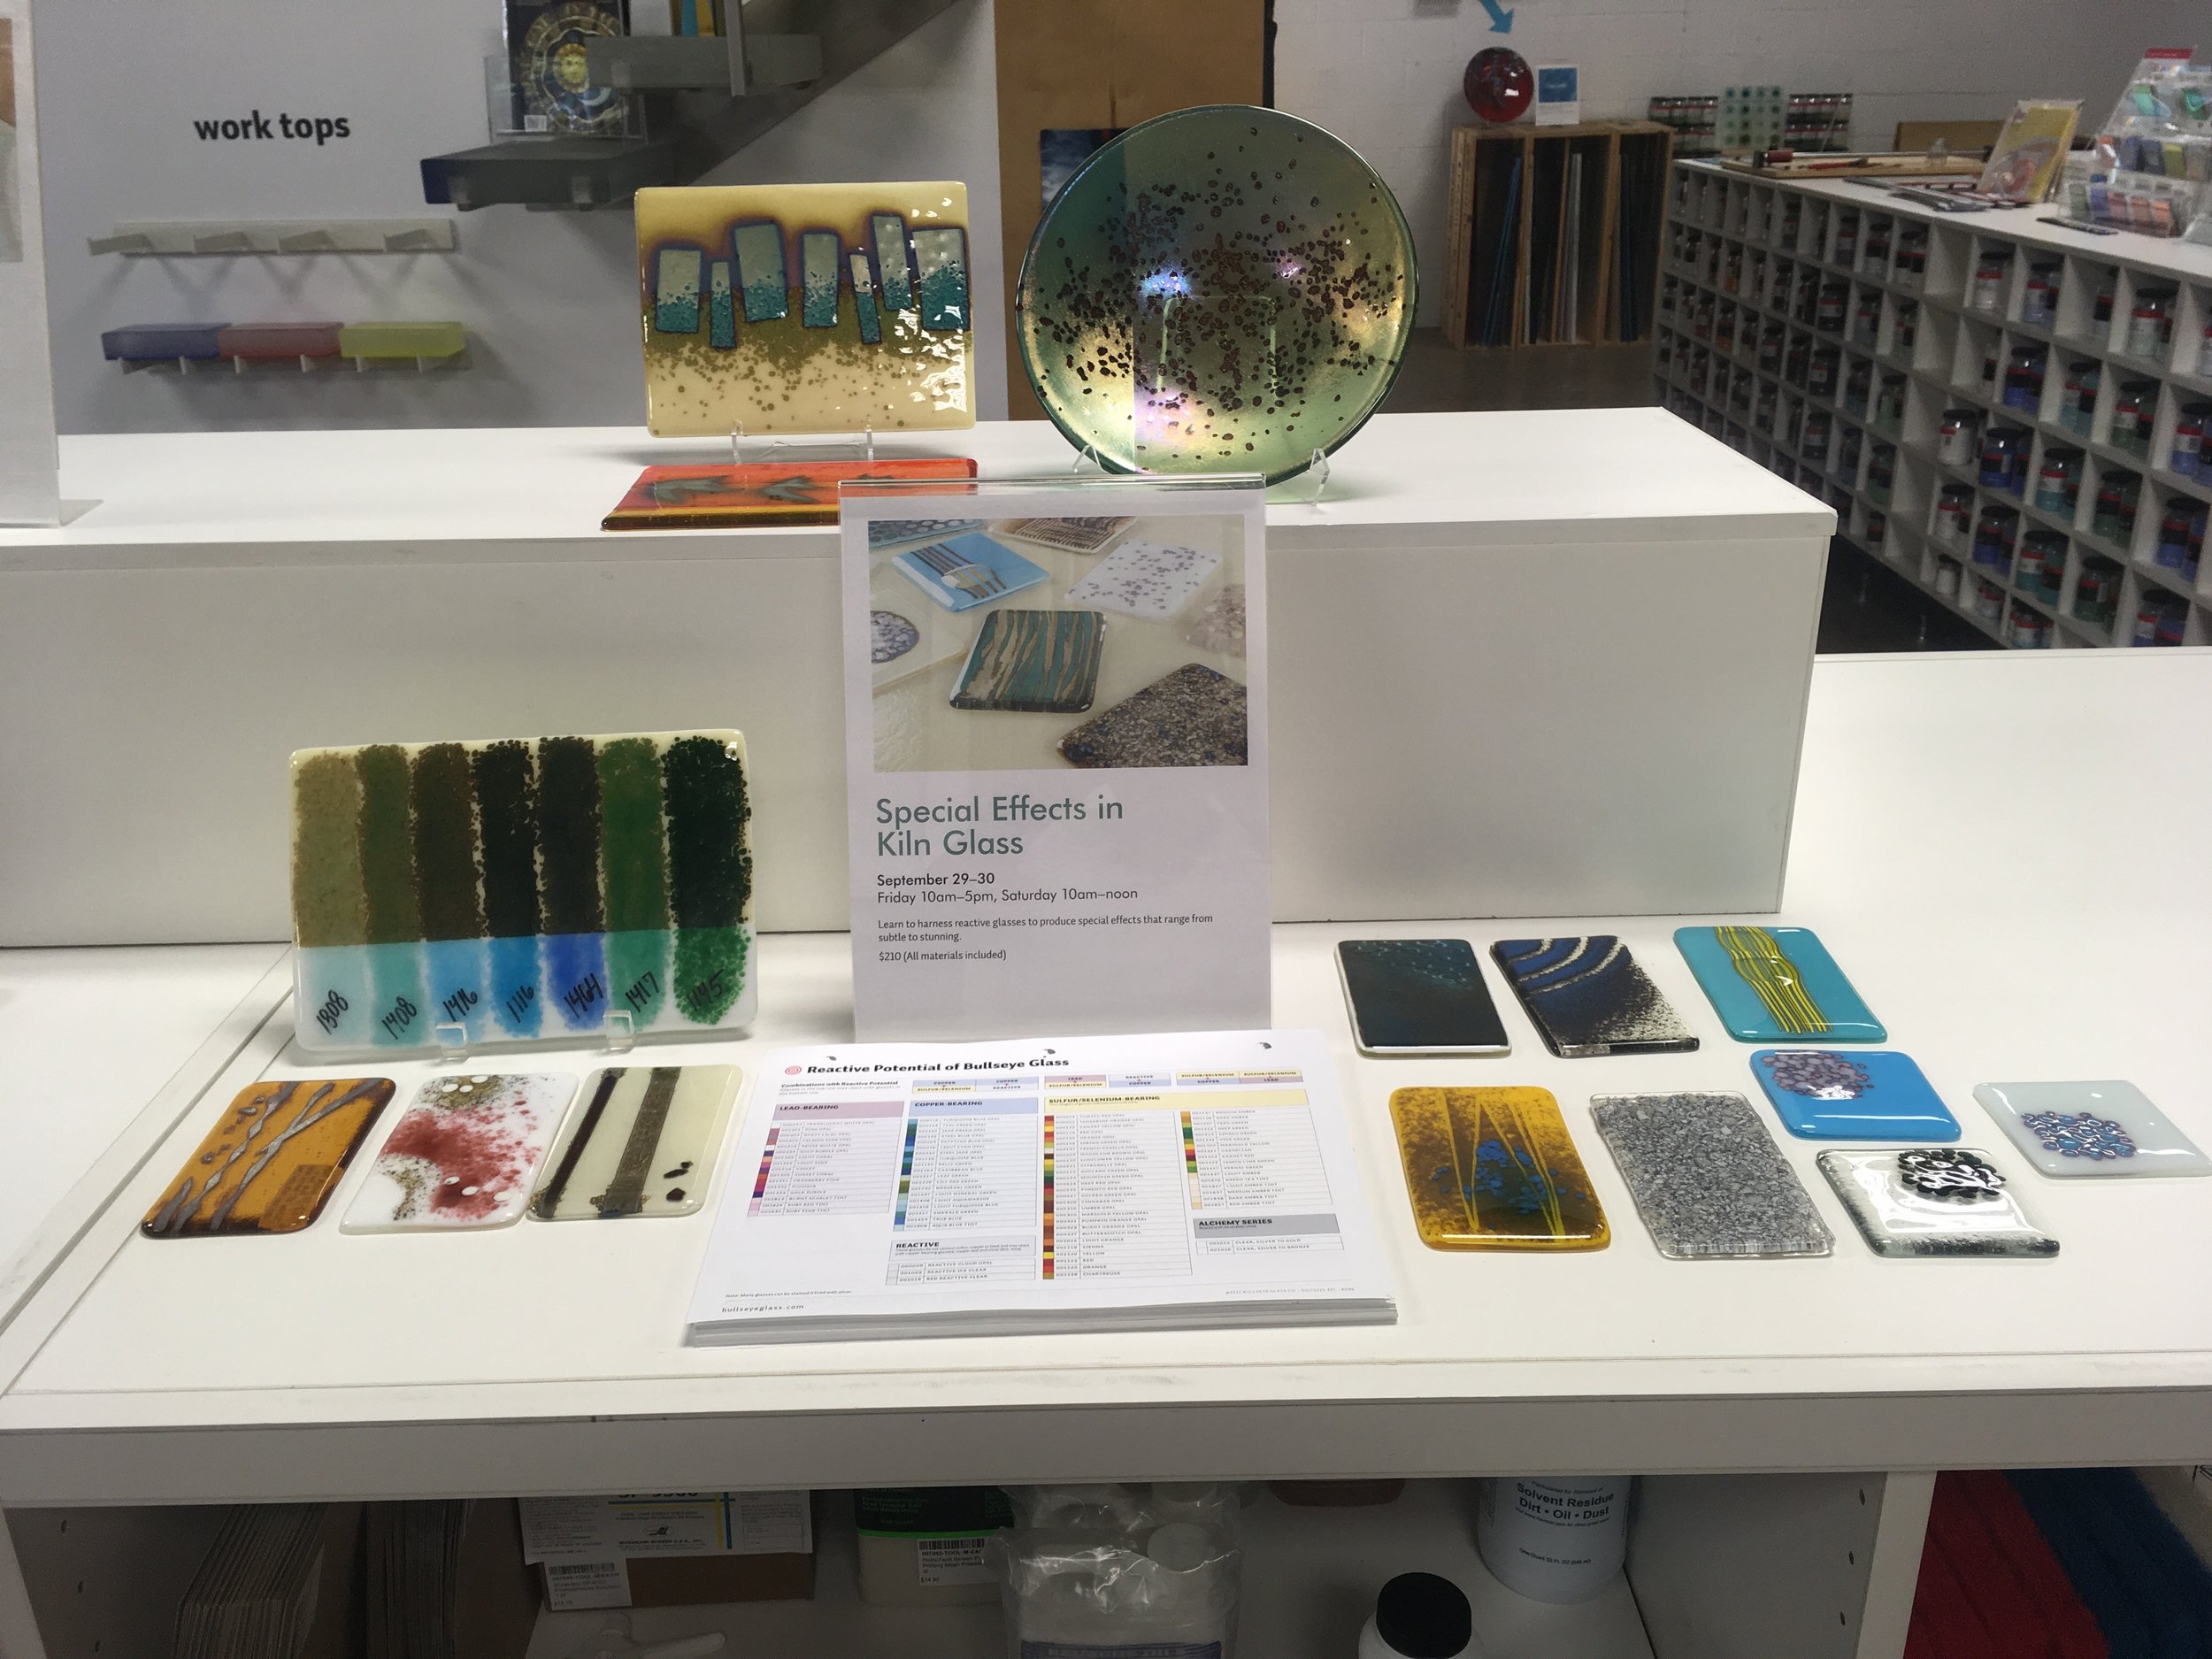
Samples of work and Bullseye is big on education.  There are classes for the complete beginner and the experienced glass artist, and you can rent time in their studio and kiln time for firing your projects after you take the proper classes.

Part of the location is a spare and elegant gallery for contemporary glass artists

The Studio in the back, full of kilns and well lit work tables 

All the staff are incredibly helpful and friendly.  My introductory class was taught by James O'Neill

This is my worktable at home, but Bullseye provides all the tools and glass you need for the class

The class introduced us to the tools we needed to use and the different kinds and colors of glass we could use to make and decorate a plate.  A lot of glass was pre-cut, but we all practiced scoring glass with the cutter and breaking it with the splitting tool.  It was a lot easier to cut and break than I remember in high school stained glass class!  Glass came in sheets, in powder and frit, and in stringers - thin round sticks like vermicelli.  Everyone in the class thought of different ways to decorate their plate.  When we finished the plate went on a kiln board for it's first fusing in the kiln.  This was called a full fuse, as all the glass would melt together to make a single flat 6mm layer.  

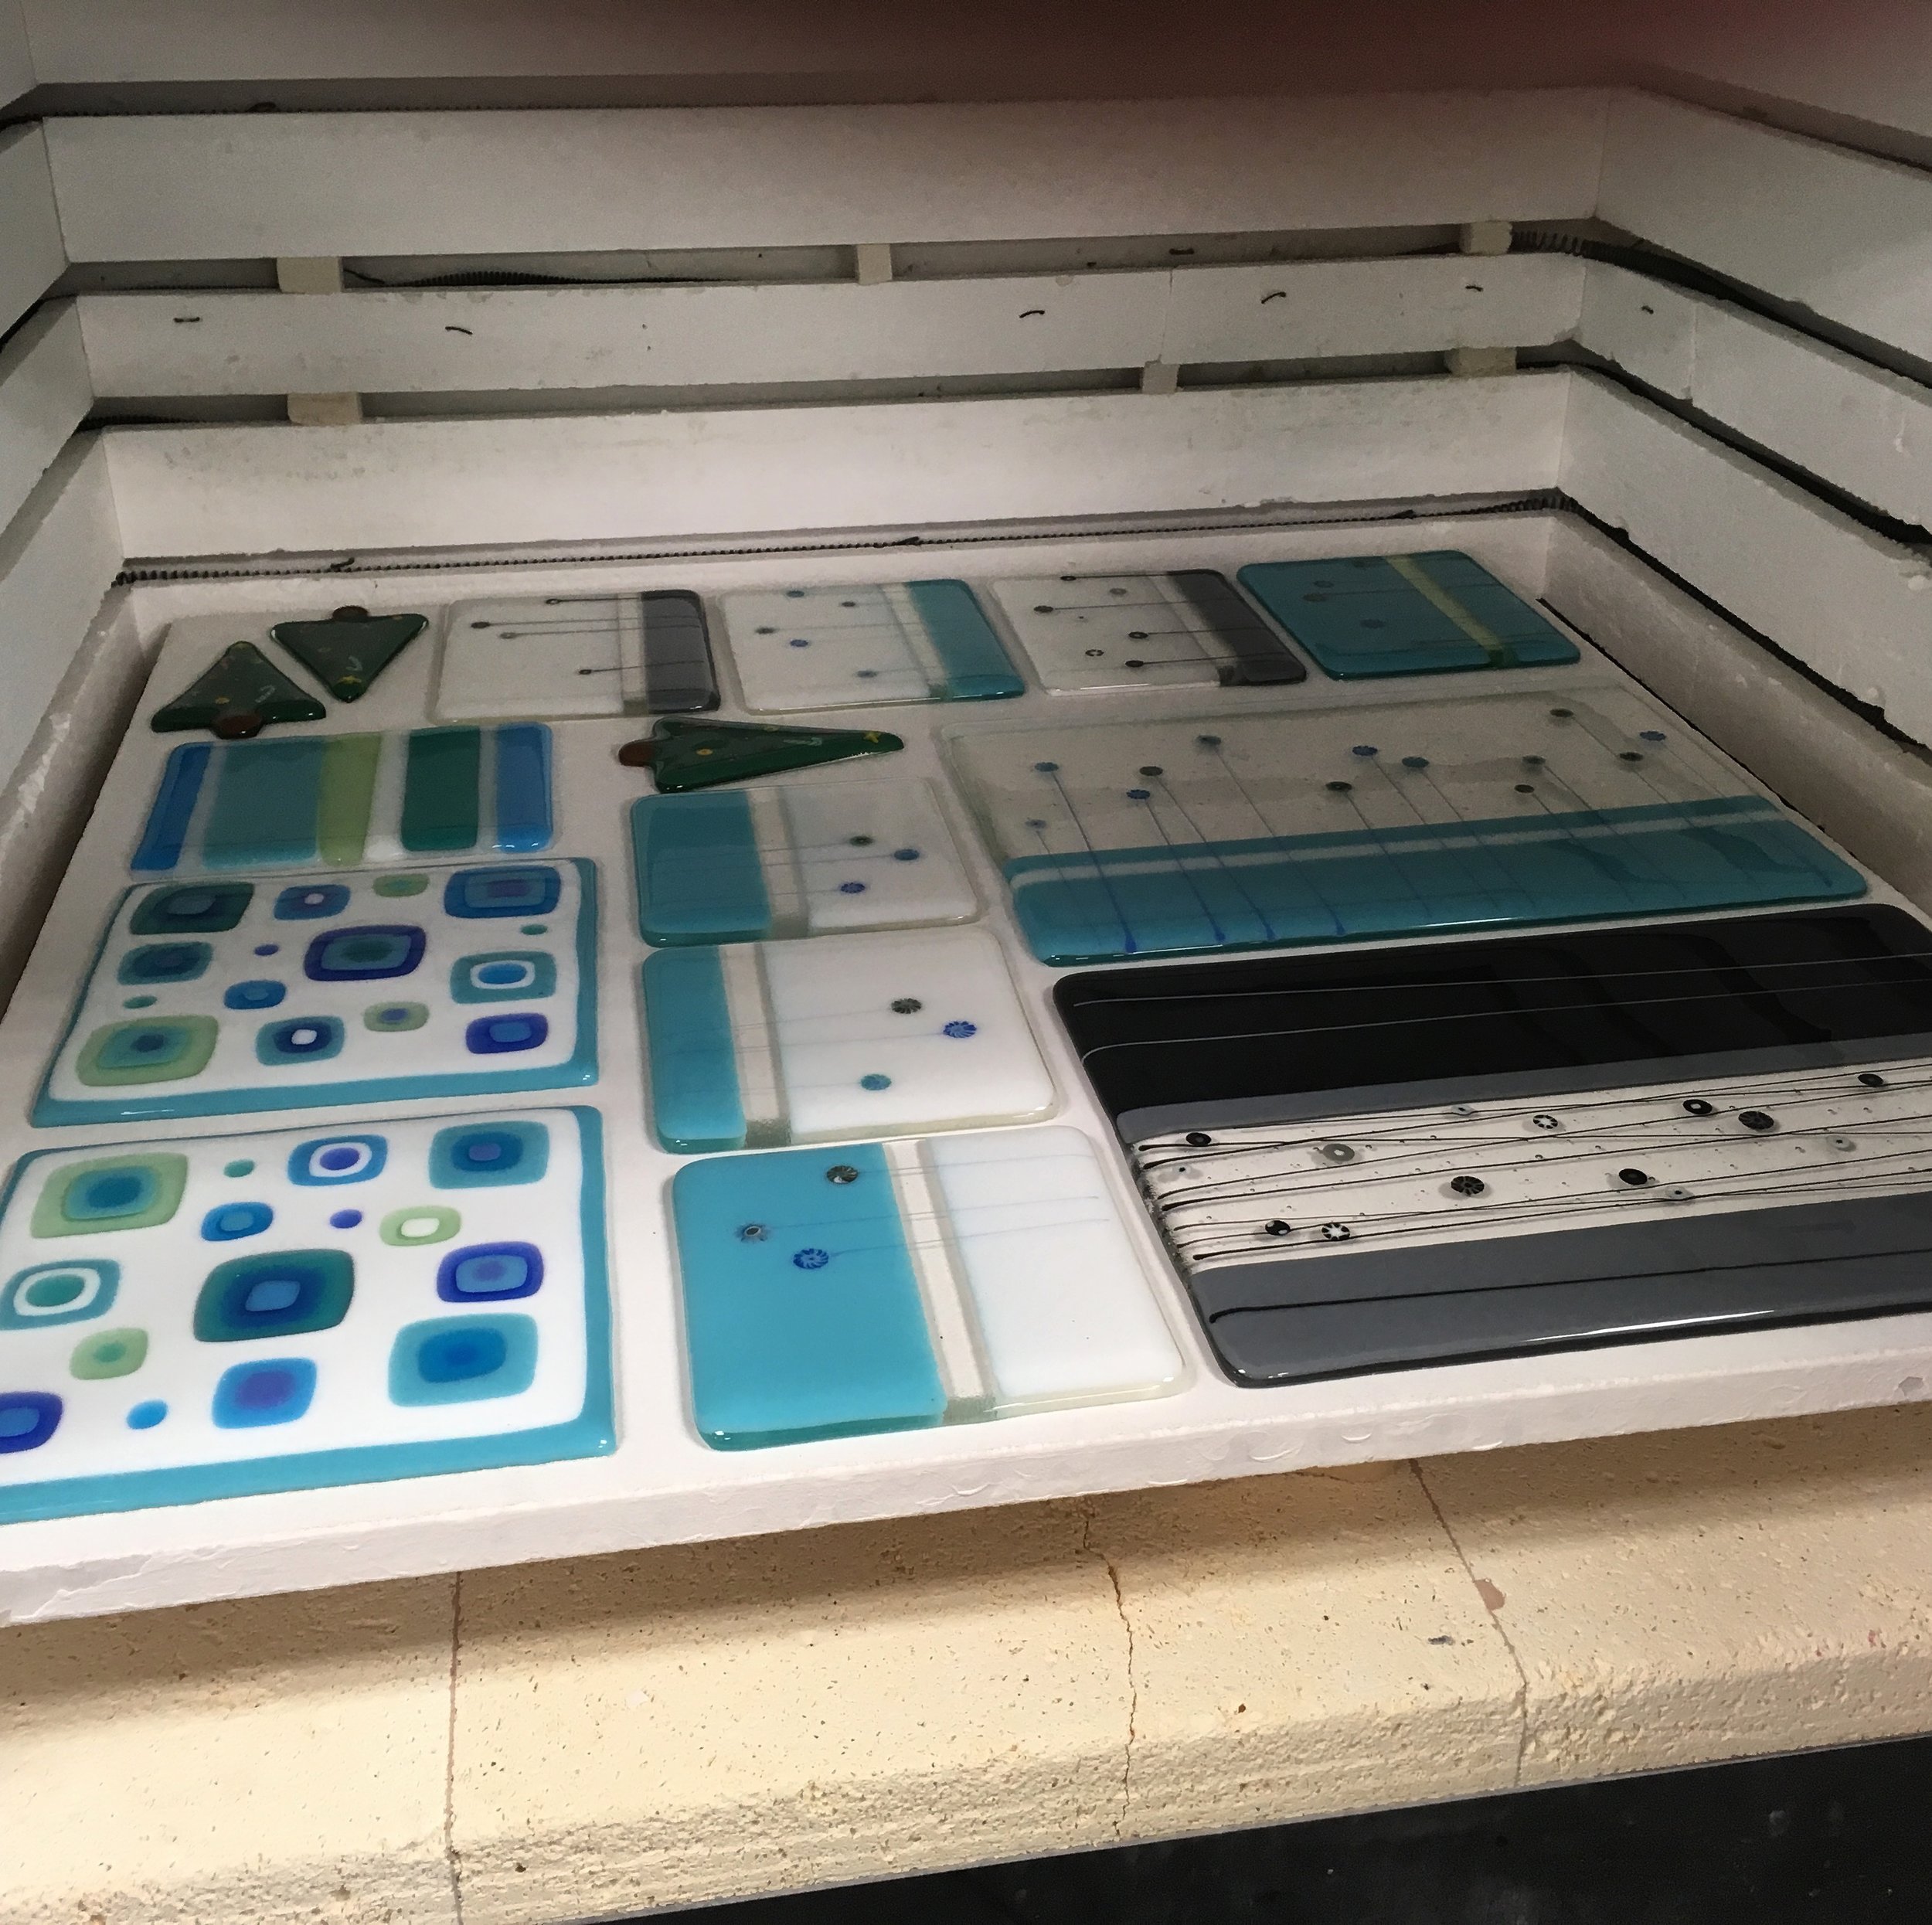
My glass after firing in the kiln

After the full fuse, the glass would be put on a mold for the slump fuse and a second firing.  This time the kiln would be set to a lower temperature and the glass would just melt into the shape of the mold .

This is one of my glass plates atop a mold.  The molds are ceramic but specially coated to prevent the glass from sticking.

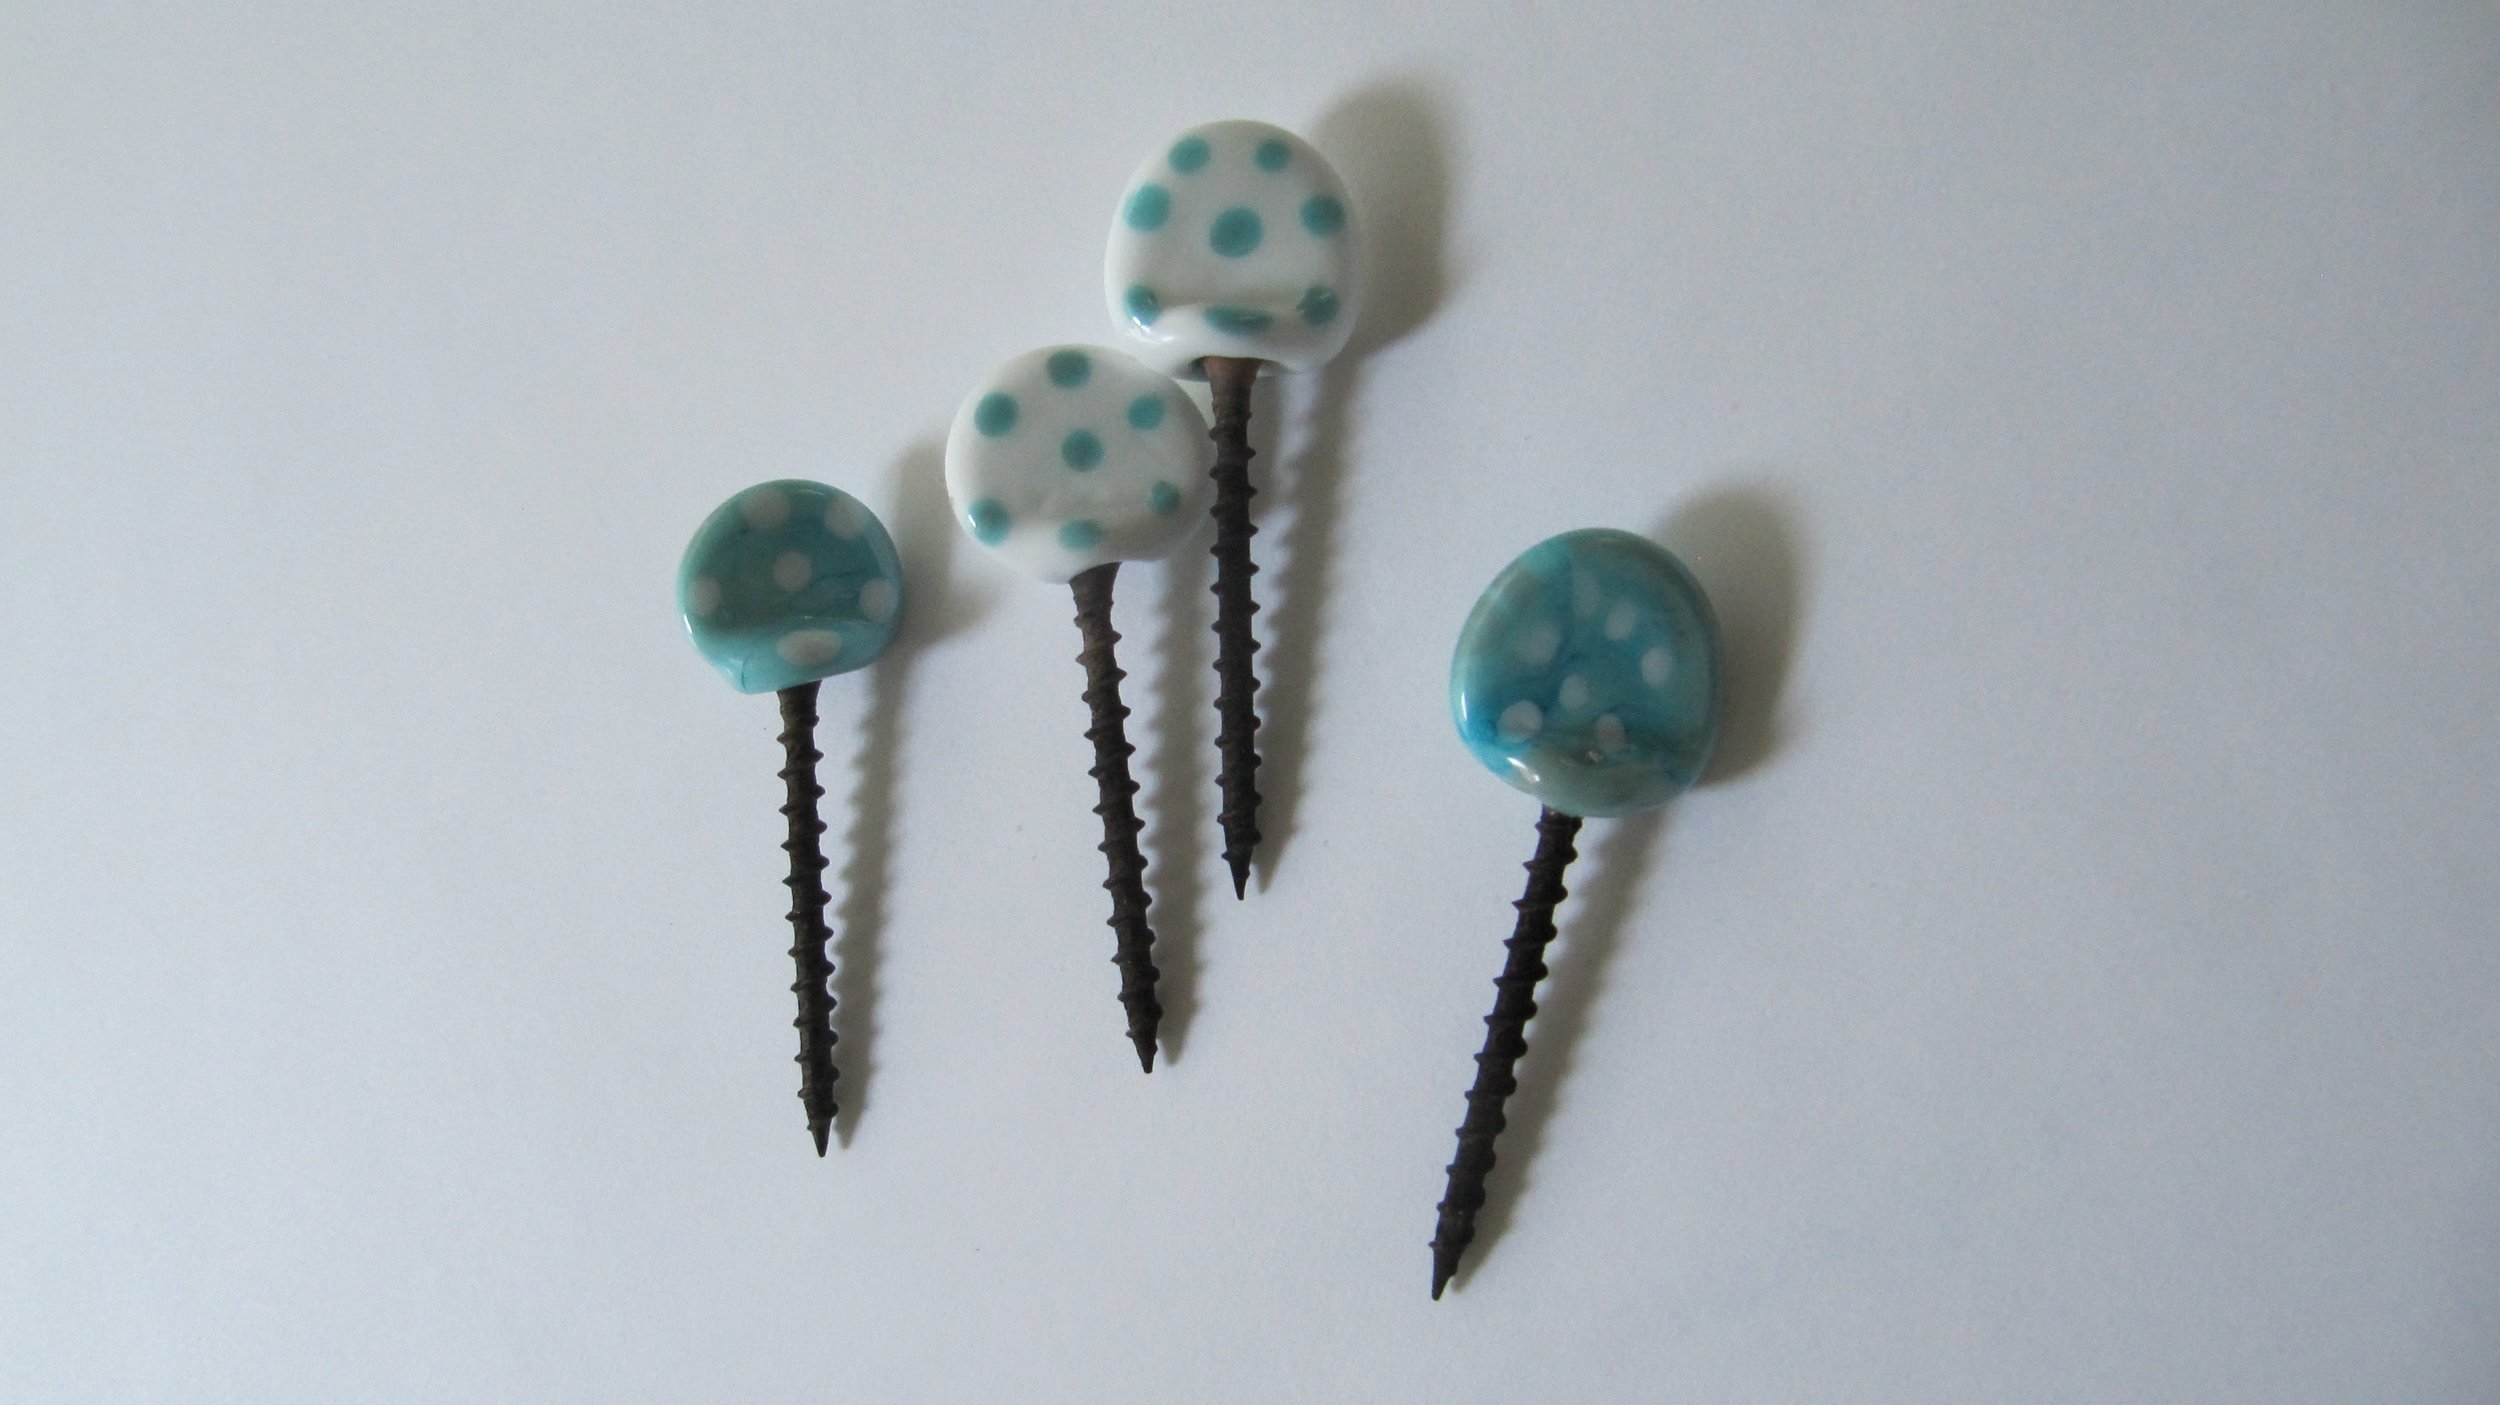
This is what my plate turned out like.  I used strips of glass, frit, and stringer.

I got a lovely plate and another new hobby started!  I would highly recommend classes at Bullseye to anyone who is interested.  The introductory class is quite easy and very reasonably priced.  Glass makes great gifts!

www.http://www.bullseyeglass.com/products/resource-center-new-york.html

Jody Lee www.astudiobythesea.etsy.com

DIY: Craft Fair Table Display

DIY: Craft Fair Table Display

This summer I decided to make a table display that had shelves for my craft items to sit on, and that could fit inside the largest luggage allowed by airlines without penalty.  My other requirements were that they would make use of height, since I could be selling from a 4' table space, be clamped to the table to withstand wind, and to be made from materials I already had around the house.  I have gone through so many different displays and selling so many different kinds of crafts, that I didn't want to spend any more money on my next wacky idea.  And since we have been over twenty years in our house, there were a lot of odds and ends that I could use; much of the wood came from a torn down tree-house or remnants from fixing up the old garage.  For this job I needed a table saw, a miter saw, a sander, a drill press, and cordless drills; I had plenty of screws and nails from previous projects, and all of these things I had bought previously.  I don't come from a handy family, and often I don't know the names of things I need or use.  Thanks to YouTube and HGTV, I plunge ahead into my very amateur woodworking adventures.

I plotted out the size after measuring my large luggage case, and decided it could be 27" high and 20" wide, with removable leg stands for clamping to the table. There would be three shelves, and the topmost rung would hold other beads/finials/box toppers.  When you build your own display, you can design it to show off exactly what you make.  For example, I have another display from re-used materials for jewelry, and for that I have rungs that are just right for hanging 16" necklaces on one shelf and 18" necklaces on the one below.

Old wood that have been in the yard for 17 years.  Re-Use!  Holes and old paint just add interest!

Cutting up all the pieces.  And all my tools are cheap - I'm not making fine furniture, after all.

Making the boxes for the leg stands

The assembled leg stand

Adding rims to the upper shelves

Drilling holes on the top rung.  I will put cut pieces of brass wire to put in them to hold my toppers. 

Attaching the shelves to the standing legs; because the shelves will fold flat, a strip of wood on the back will keep it in place when folded out, and so the shelf back hangs a little farther out than the leg. 

The shelves are attached with screws or glass headed screws (that I'd made for an earlier display - one that failed to work as planned!)

I measured the shelves to open to 90 degrees from the legs

And added stoppers underneath the shelves to keep them in place when in use

A wooden strip across the back also keeps the shelf in place and keeps things from falling off.

It works!  I decided I didn't need any rims yet for the lowest shelf.  I may put something there later.  The two top shelves hold very light objects, so they can be on the thin side.

I decided to paint the shelves as the different kinds of wood was distracting from my boxes.  Just with gesso I already had in stock.  Note - sometimes I used my glass beads as shelf stoppers!

The legs were wobbly in the leg stands.  Amateur woodworker me had measured incorrectly and left too much room in them!  But I wanted to be able to make each display moveable on its own anyway, so I lampworked glass fins onto some wood screws, drilled holes into the backs of the leg stands, and used the finned screws to keep the legs in place and steady.  Fins are better than round knobs - they give you a better grip for turning.

The screws dig into the legs of the display and all are soundly but not permanently attached.  Yay!

All folded up.  The two displays weigh about 15 pounds together.  Not a light weight display, but that was secondary to my requirements.

The finished display stands

What the display will look like when it is in use.

Unattached box toppers can be displayed on the very top rung by putting brass wires in the pre-drilled holes.  This is also an effective way to hang necklaces and jewelry for display.

DIY: Charging Station

Would you like to create a central location to charge your devices instead of having to search around your home to find where you or your family members might have plugged in a phone, tablet, etc.? I created an easy DIY charging station that I’d like to share with you.

Read More

Tutorial: DIY Apple Picking Canvas Tote

Apple picking time is here! Crisp fall leaves, fall foliage trips, pumpkin picking.  I think autumn might be my favorite time of the year! I love picking apples and pumpkins and I am so happy to pass this tradition on to my daughter.  It's something kids and adults can do. Apples after being accumulated can get heavy.  So you want to use a tote that is durable.  For this tutorial I am using an organic duck canvas lined with a quilting weight cotton.  This is a beginning intermediate level sewing project.  Good for someone who has learned to sew and wants to do a new project and learning a few new techniques!

Materials clockwise from top: rotary cutter, omni-grid ruler, seam gauge, thread, fabric, webbing

Materials:

3/4 yard canvas

3/4 yard cotton quilting weight

2 yards cotton webbing 1 1/2" wide

matching thread , 2 yards cotton webbing 1" to 1.5" wide, iron, sewing machine

STEPS:

1.     Cut out your shell and lining pieces, cut out your pocket.  

  • Shell- cut 1 piece 38” x15”
  • Lining -  cut 1 piece 36” x 15”      
  •  Pocket – cut from the lining fabric 9” x 8”   
  • Straps – cut 2 pieces of the webbing 34” each, these straps are long. If you want them shorter, take a few inches off

2.  Make the pocket: if your print is non-directional, choose a longer side of the pocket piece, this will be the top.  Fold over ½” and press, repeat.  Sew an edge stich along this fold. For the remaining 3 sides, fold over each raw edge ½”  to the wrong side of the fabric and press.

3.     Sew the pocket onto the lining piece.  Take one of your lining pieces and measure 4” from the top. Center the pocket with the wrong side of the pocket facing the right side of the lining fabric. See photo. So both “right sides” of the fabric are facing you.


4.     Pin in place and sew with an edge stitch on 3 sides, not the pocket opening.  Be sure to back tack a few times at the top two corners.  These are stress points.

Edge stitch 3 sides of the pocket.

5. Ok now to attach the straps. Measure in 3" from where a side seam will be and place the webbing.  Fold over the top edge of the bag 1/2"  to cover the webbing, fold over again 1". Pin.

6.  Take this webbing and smoothly run it over to the point 3" from the side.  You are on the same side of the bag. Be sure to not twist the handle. Repeat step of pinning. Repeat these steps for the opposite side of the bag and other handle.

7.  Sew down the handles all along the top of the tote.  To hold all those apples you will sew 2 rows of stitching around the tote top edges and sew a reinforcement X where the handles are. 

8.    Now it's time to sew the lining to the shell, French Seam style! Lay the lining to the shell wrong side to wrong side.   Sew ½” seam allowance, trim down to 1/8”, fold over the seam face to face and sew ½” seam allowance.  Your seam on the inside of the bag should be covered.  Repeat on other side.

french seam, cut the seam down to 1/8"

inside view of French Seam

Finished! Ready to go apple picking or take a trip to your local farmer's market!

Enjoy the beautiful autumn!

Tracey Toole |  www traceytoole.com |   www.etsy.com/shop/traceytoole

DIY: Halloween Puppets

There’s a chill in the air, jack o’lanterns and ghostly decorations are everywhere. Yes, Halloween is near! This year we wanted to try making something different other than the usual paper plate masks and construction paper cut out bats. We love those, don’t get me wrong but we came up with our own project and we love it. We made puppets with foam balls, wooden dowels and my husband’s old shirts (sshhh! Don’t tell!) The best part of this project is that you can make any character you want and make them as crazy as you want them to be.  This is how we did it:

1. Make the heads:

You’ll need 3” smooth foam balls (or approximate size),  gesso, wooden dowels, pencil, craft paint in the colors of your choice, brushes in different sizes. For the optional steps you’ll need school glue, water, tissue paper, mod podge or finishing spray.

Cover the foam balls with a couple coats of Gesso. You need to do this in order for the paint to stay on the surface later on, that way it won’t peel off. After the gesso is dry, use a pencil to draw your puppets’ facial features. Draw eyes, mouths, big ones, small ones, anything you like, this is Halloween after all! Use your craft paint to paint the ball all around, making sure you can still see the pencil lines through the paint. Trace the features with a thin brush. Insert the wooden dowel at the bottom of the head. Because the foam ball is soft, it won’t be hard to get the dowel in there but you may use the tip of a pencil to get a hole started and then push the dowel. 

Optional steps:

* If you would like to make three-dimensional features such as ears or noses, you’ll need to make a quick mix of papier maché. Simply mix equal amounts of school glue and water and dip shredded pieces of tissue paper in it, mold into shape and place on the foam ball, where you want it. It will be very wet, you will need to let it dry overnight. This is what I did for the cat’s ears and nose and the pumpkin’s stem.

* You may add a special touch by adding the year on the back and making it a family keepsake. 

* After painting the head and facial features, you may add a layer of mod podge or finishing spray. That way you’ll be able to show off your puppet for years!

2. Make the clothes:

I kept this part very simple. I used sleeves from old men’s shirts. Cut off the sleeves and cut off the cuffs. Then gather the narrower end at the base of the puppets’ heads and glue gun it to the dowel, at the base of the head. If you don’t have shirts to cut, simply use old scraps of fabric to glue on the dowel, at the base of the head.

Optional steps:

Make a couple of fancy items to add to your characters! I used felt to make a little witch’s hat and cape. You can use ribbons, buttons, pom poms, etc to glue onto your puppet’s clothes or heads.

The kids loved working on these puppets, I think we’ll keep them around even after Halloween passes. They’re making up their own little stories and using their imaginations to play and be creative. They also loved being involved in the making process. From brushing the gesso onto the balls, to painting and cutting off the shirts, this project is kid friendly. My oldest is learning how to use the glue gun but you be careful with the little ones around as they can get easily burned with the tip of the gun or the melted silicon. Have a happy and safe Halloween!

Natasha K.

ETSY // FACEBOOK // INSTAGRAM

Part II DIY Fall Kitchen Patchwork Trivet

Last Friday we demonstrated a tutorial of how to make a patchwork trivet for your kitchen. Today we will finish it up with part II.  If you missed part I you can find it right here.   I know with the change of weather I am ready to start having hot coffees and warming teas.  

Last week's last step was making the patchwork top part of the trivet. It should look like this. 

1. The bottom row is sewn to the middle row, be sure to match seams and press with steamy iron.  Then sew the middle row to the top row. Repeat same steps.

2. SQUARE IT UP.  This means you need to cut the sides to make sure it is even.  It's ok if it ends up being smaller than 9" square or not a complete square.

3. Step 3 you are going to start making the quilt sandwich. Take your wool, place your batting on top of that, then your trivet top on top face up. 

4. Pin the layers together and sew along the seams. You can use regular straight pins or basting pins.  It's good to use a Walking Foot but if you don't have one that's ok. 

5. Attaching the bias tape binding. When you first start to attach it you need to fold over one short end raw edge about a half inch.  

Be sure to fold the short raw edge as above. 

6.  Sew a half inch seam allowance around all of the edges. 

7. Fold raw edge and wrap to top side of trivet. Pin. 

step 7B


8. Sew an edge stitch.  This is a stitch right along the grey binding. 


Step 9. Done! Have a cup of tea!

final trivet 2 colors.png

If you have any questions please let me know.  Next tutorial will be the Apple Picking Tote on October 16th. 

Have a lovely weekend! 

Tracey Toole

www.traceytoole.etsy.com   |    www.traceytoole.com