Gift Ideas for the Crafter
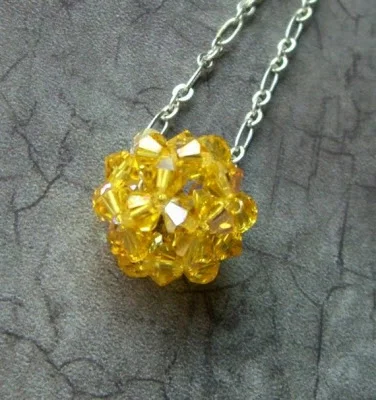
Stephanie Mulry Jewels
This past weekend I picked up an issue of Mollie Makes, a British crafty publication. There was an article called The Art of Giving. It's something I think people should read. Written by Lottie Storey she points out that the "true gifts aren't the easily acquired consumables...rather, giving in its purest sense has to embody something of the giver". Something like hand making a quilt, stitching a house warming gift, or knitting a Christmas stocking. What do you do if you aren't crafty? And you want to buy something for the crafter in your life? I posed this question to our EtsyNY team and I received some feedback.
What to buy for the knitter? Alicia of Birdy 27 Designs said, yarn of course! But make sure to get a gift receipt, some knitters only like to work with certain yarns. You can always get a gift certificate to a favorite yarn shop. If you really really love the receiver and that person knits alot, Brand from PurlBKnit suggests a winder and a swift.
Since I work in a yarn store I know what a winder does and I am a knitter hobbyist. If I knitted for a living I know a winder would be extremely appreciated. Ok what the heck is a winder?
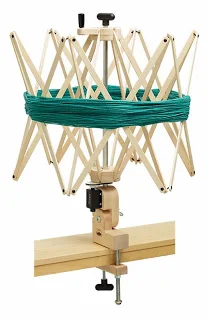
A swift winds the yarn and then it goes onto a ball winder. Doing this to the yarn makes it much easier to work with the yarn.
Ok so what do I buy for someone who designs jewelry? I don't know anything about jewelry. Amy from Sweet Olive Jewelry was nice enough to tell me what's on her wish list, a good book! I know I always love some new magazines or books. Nothing like actual inspiration you can tack to the wall.
Bibles for the general techniques:
- "The Complete Metalsmith" by Tim McCreight
- "Metalsmithing For Jewelry Makers" by Jinks McGrath
Advanced/unusual techniques:
- "Creative Stonesetting" by John Cogswell
Inspiring contemporary designs:
- "The New Jewelers" by Olivier Dupon
Magazine for wearable art:
- "Ornament" Magazine
Ok some givers feel strongly about giving certain things, I know I know it's suppose to be about the receiver not the giver. But what if you have a person who doesn't want to give a book. Or someone who is completely digital. Stephanie from Stephanie Mulry Jewels suggests a gift card to ebay. I know of so many artists who find inspirational things on ebay, items to use in their business or maybe for their own use!
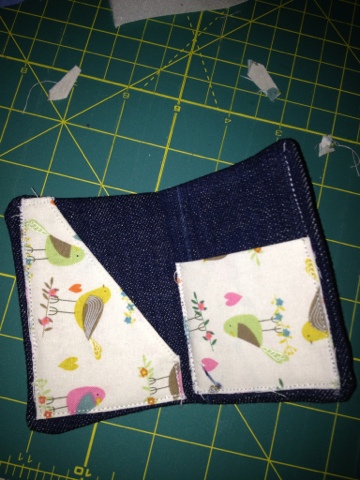
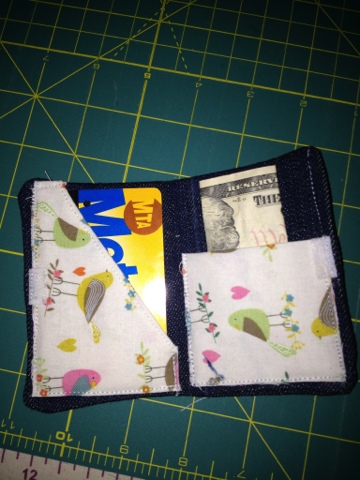
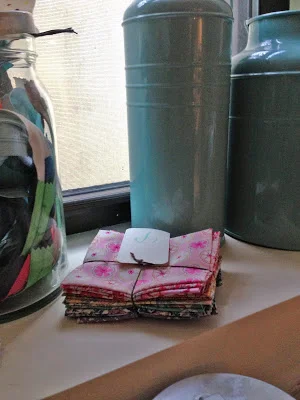
And last but not least, the sewist. I am a designer and sewist. Like Alicia from Birdy 27, I always welcome more fabric or a gift card to a fabric store. For my 40th Birthday this past year a friend gave me a Liberty of London fabric bundle.....Love! I have it sitting on my work table as inspiration until I decide what to do with this beauty!
Now if you really want to make something keep checking our blog for DIY posts. You can also check my blog for how to's on pom pom ornaments, felt stockings and more!
Happy Crafting!
Tracey Toole
http://traceytoole.blogspot.com/